Hi everyone, it's been a while since I dropped my last illustrator tutorial and so I decided to teach a really classy lesson this time. I've been a huge fan of vector art ever since I started working as an art director then as an illustrator. And I always appreciated the work of some of the masters like Pale Horse Design, Hydro 74 and Chris Vector. Their extremely detailed illustrations are really eye catching and sharp, I always wanted to understand how they do that.
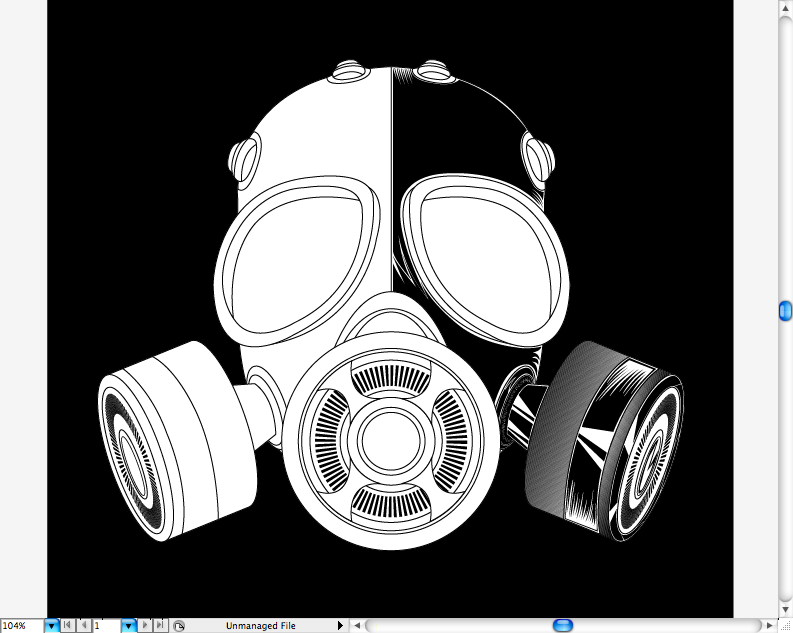
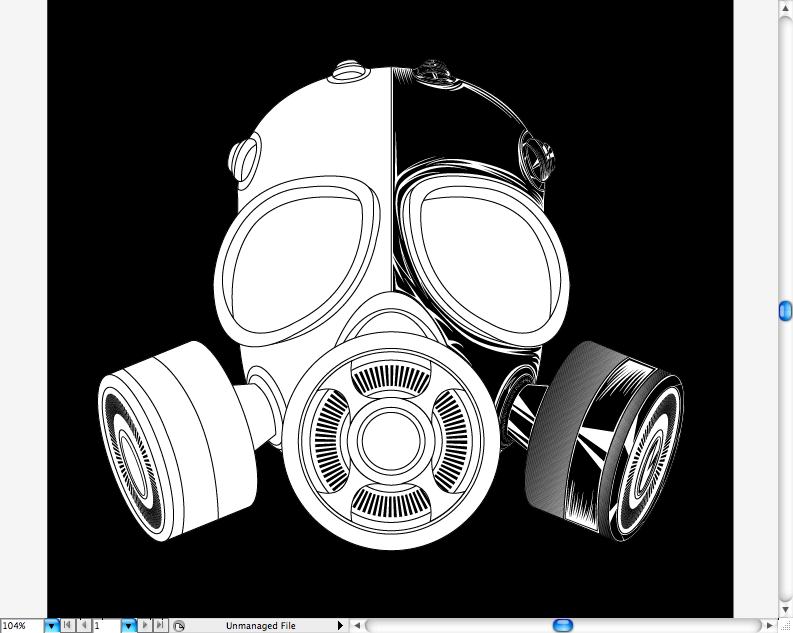
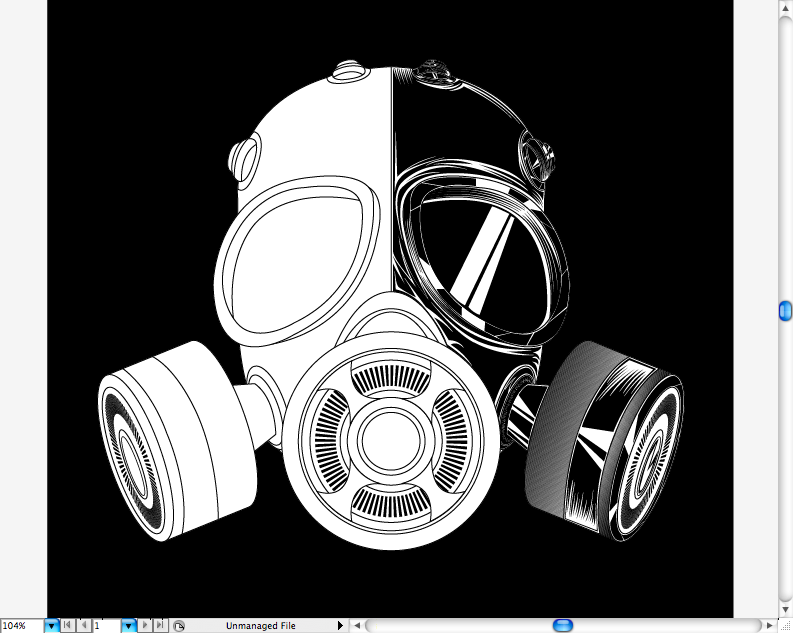
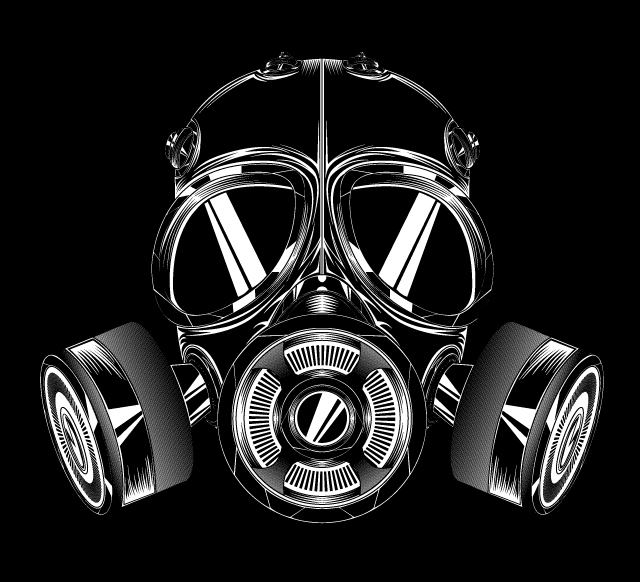
Years and lots of hours of illustrating later, I think I can finally understand aspects such as sketching, outlining, shading, hachures and filling that are most used to make great artworks. So, today we are going to learn how to create this gas mask using only vectors. This is a really advanced tutorial, not only for the ones who are familiar with this software, but for the ones who are used to making traditional illustration too. I hope you learn a bit about depth, shading, hachures and other aspects involving this illustration, and, of course, have fun. So hey, If some of you get a bit confused, please contact me later ;).
Sketch
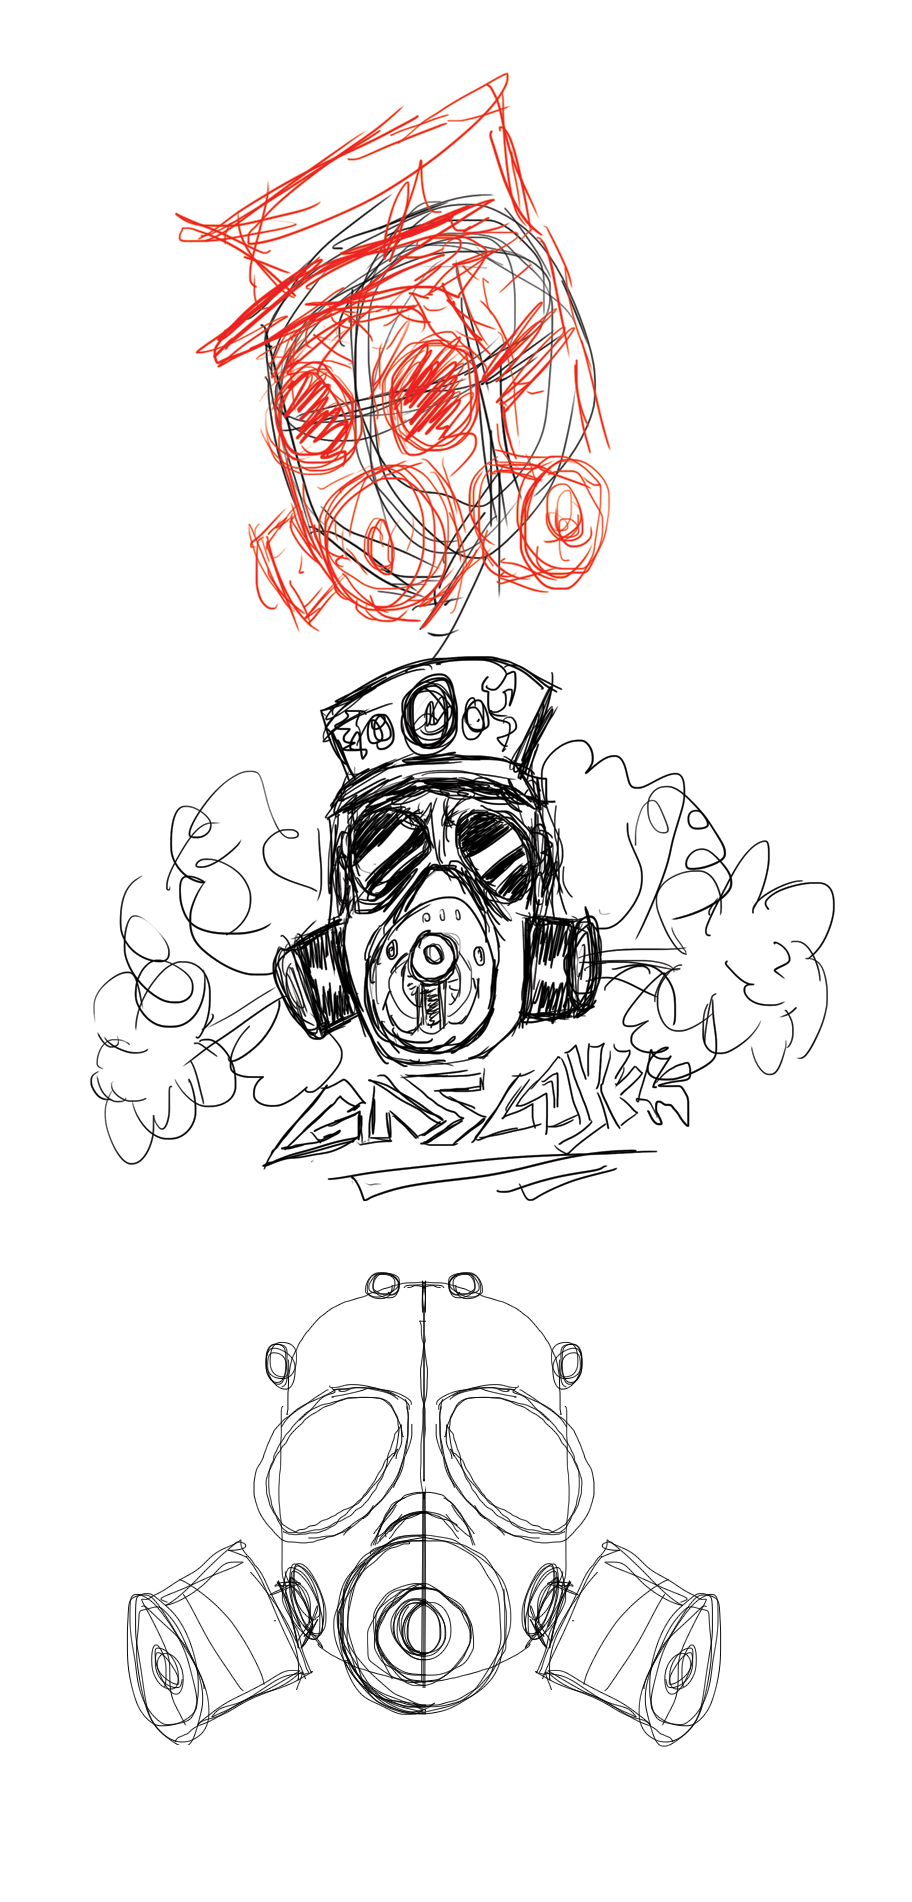
As always, I try to sketch the idea before going to the software, I think a sketch is more than 50% of the work, it's the concept, it's when you see what can be possible and what cannot. So my suggestion to you is to always try to test every graphic possibility before refining it. Think about the sketch as a rough diamond, you know it's a diamond, you just need to understand how to refine it through a better way.
Outline
Step 1
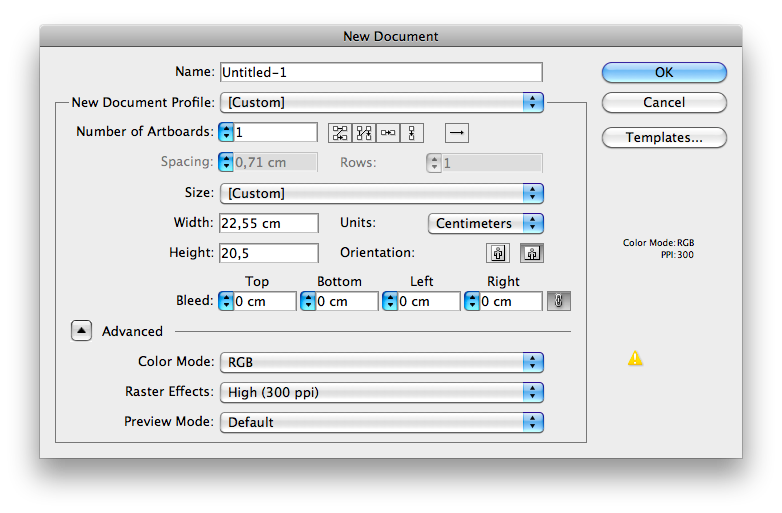
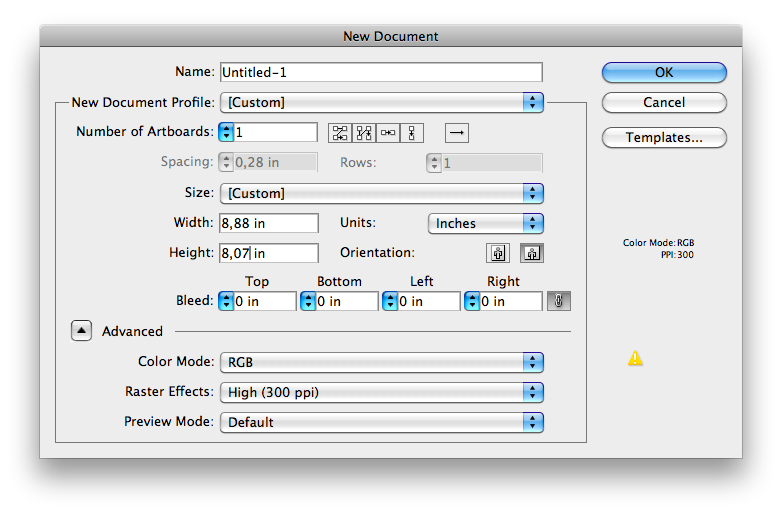
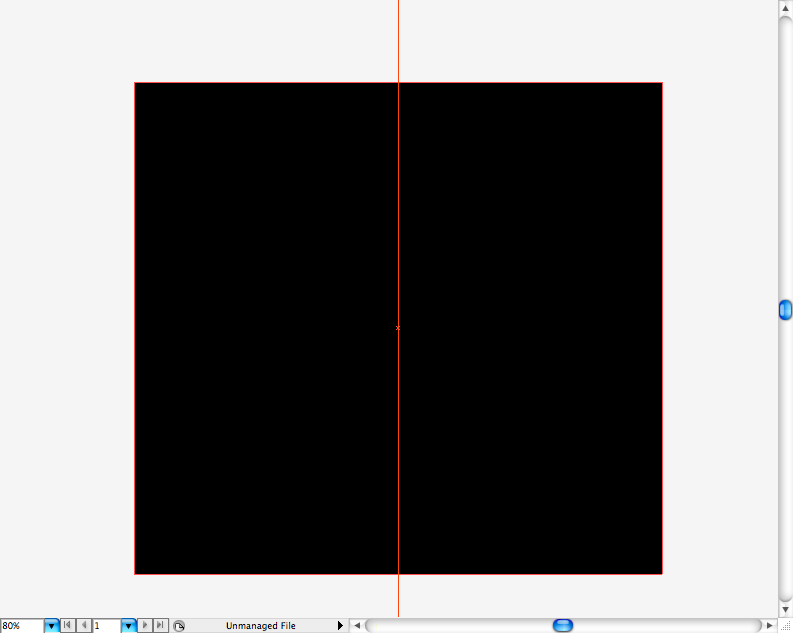
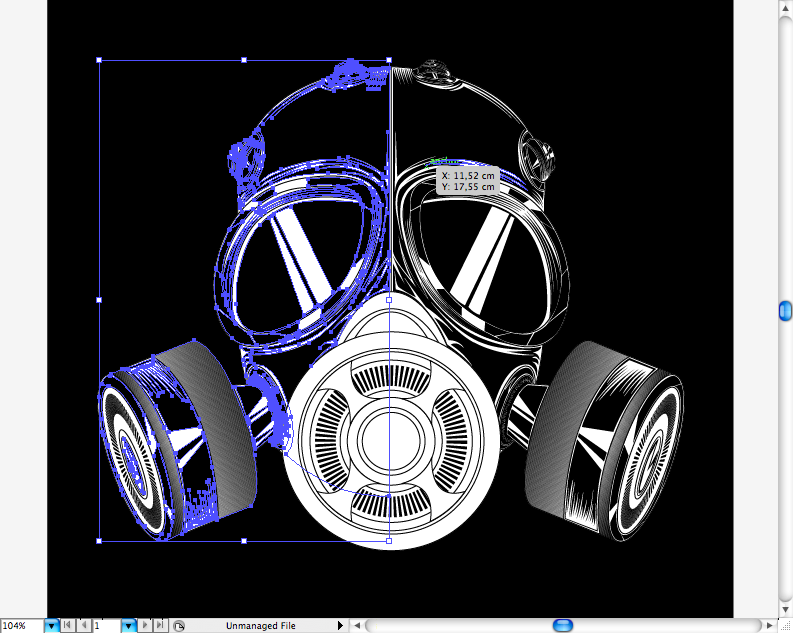
One thing I started to note is that every artwork has some kind of outline. That's when the artist tries to a set the parts of the illustration without refining it. So, let's open Illustrator and create a 22,55 x 20,5 cm (8,88 x 8,07 inches) RGB, 300 dpi.
Using
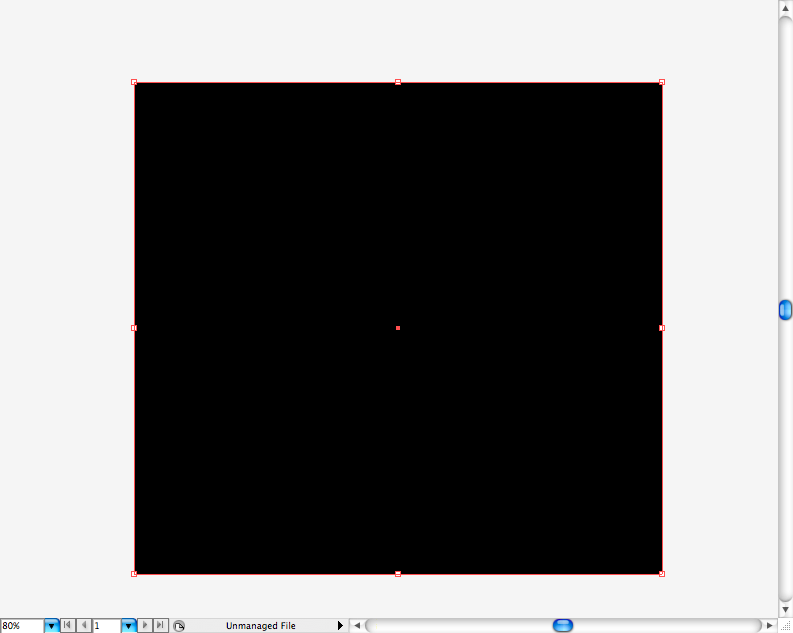
the rectangle tool (the shortcut is the letter M), create a square that fit outside the canvas
We're going to need some rulers to help us, press
ctrl + R / command + R to visualize them, then pull one vertical and align it to the center of the canvas.
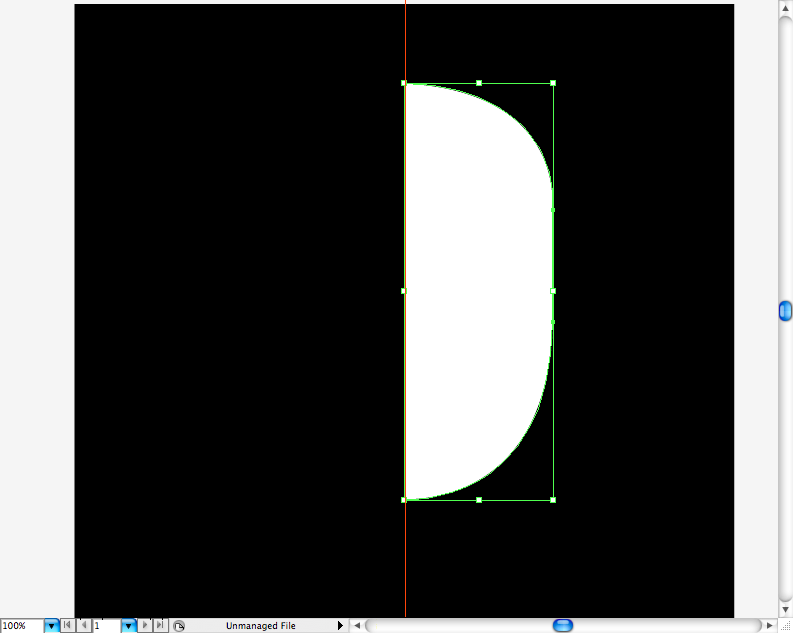
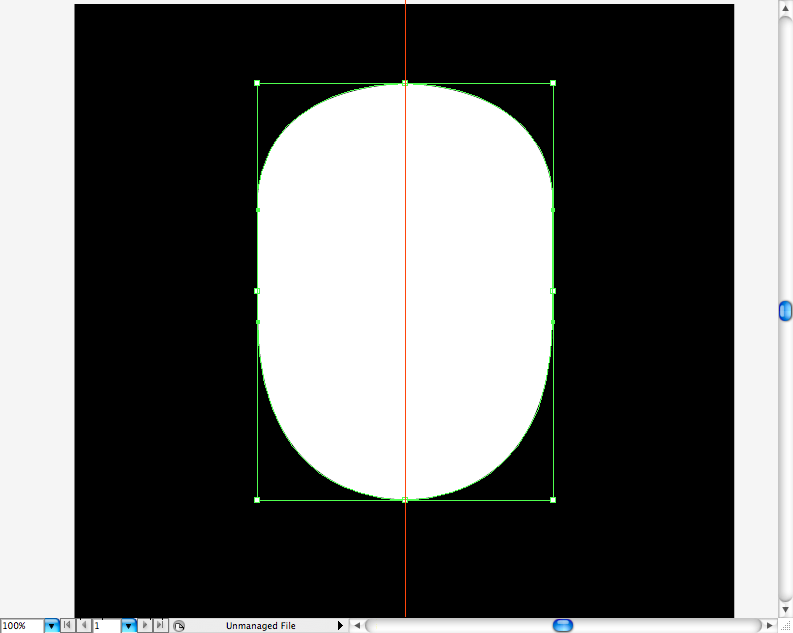
We're going to use
the pen tool (P) to create this part of the face, use
the direct selection (A) If you need to adjust any of the points.
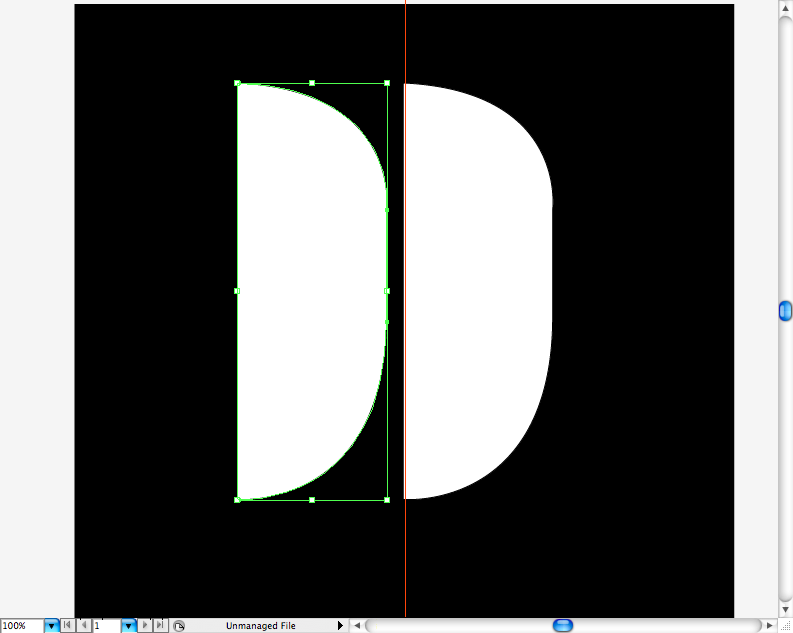
Select the face shape and using
the selection tool (V) + alt , duplicate it.
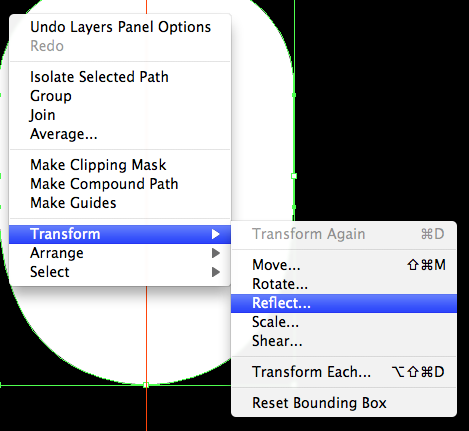
Right click on the duplicated side, a panel will pop up, choose the option called
Transform > Reflect. Then, choose to reflect
the vertical Axis.
Go to
the pathfinder panel, select both sides and choose the selection called
Unite to blend it all together.
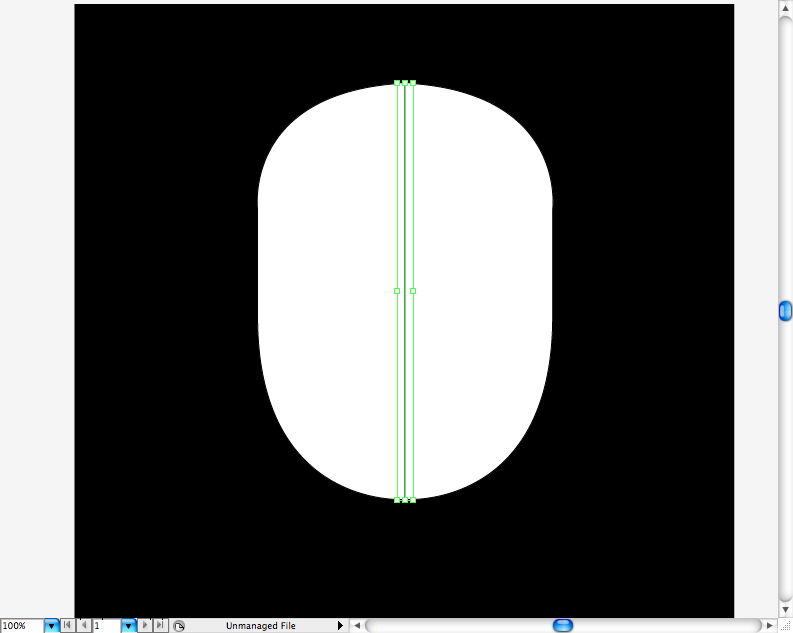
Use
the line segment tool (\) to create a divisory between the face, it will be used later.
Step 2
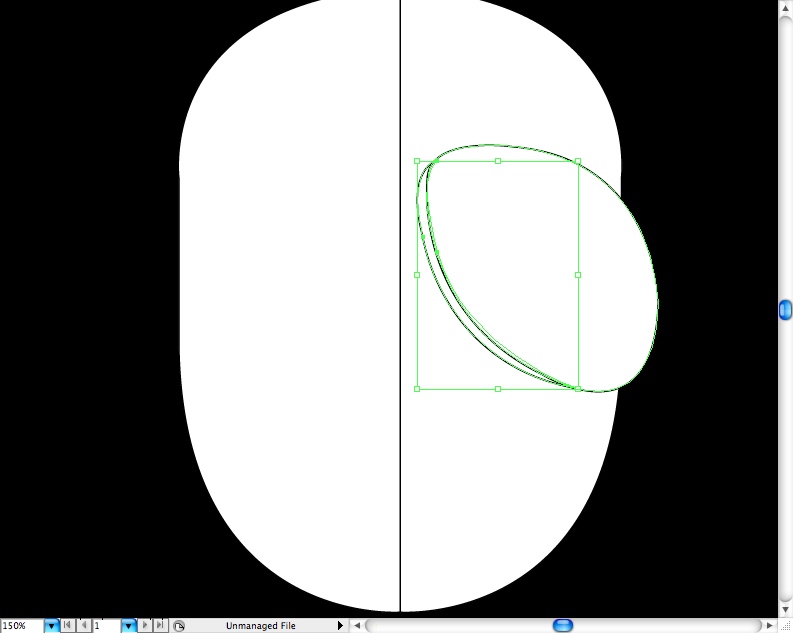
Using
the pen tool (P), we're going to create the shape of the glasses.
Use this tool again to make this shape and give the idea of depth on it.
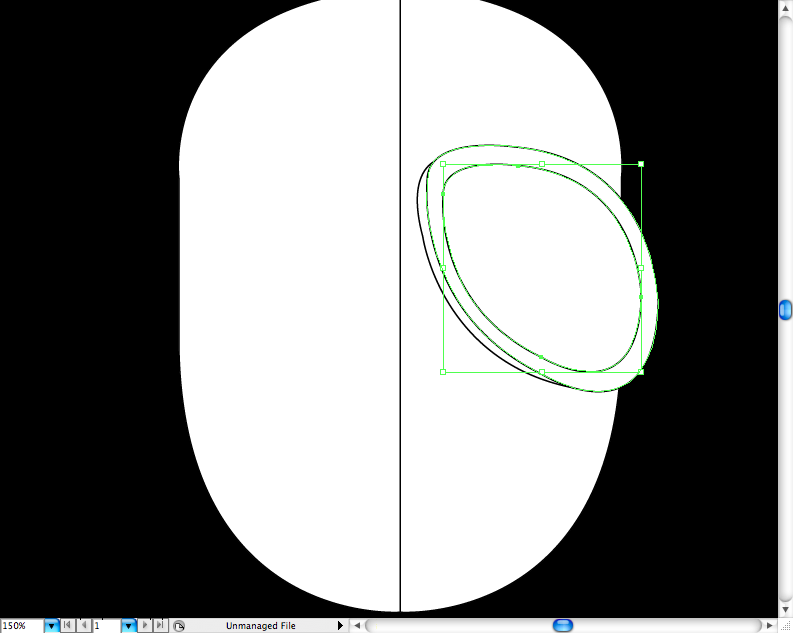
Just duplicate the glasses shape, resize and place it using
the selection tool (V).
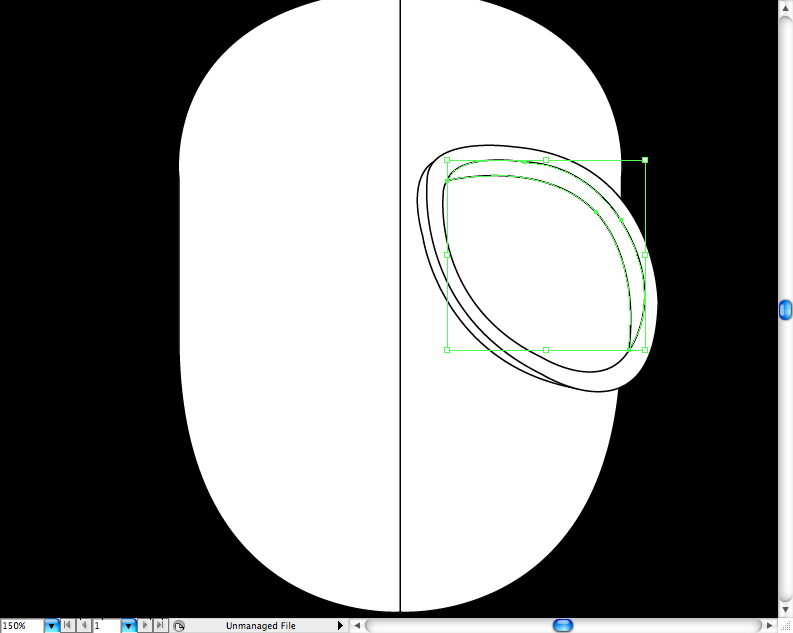
Use
the pen tool (P) to create this shape and give the idea of a border on the glasses.
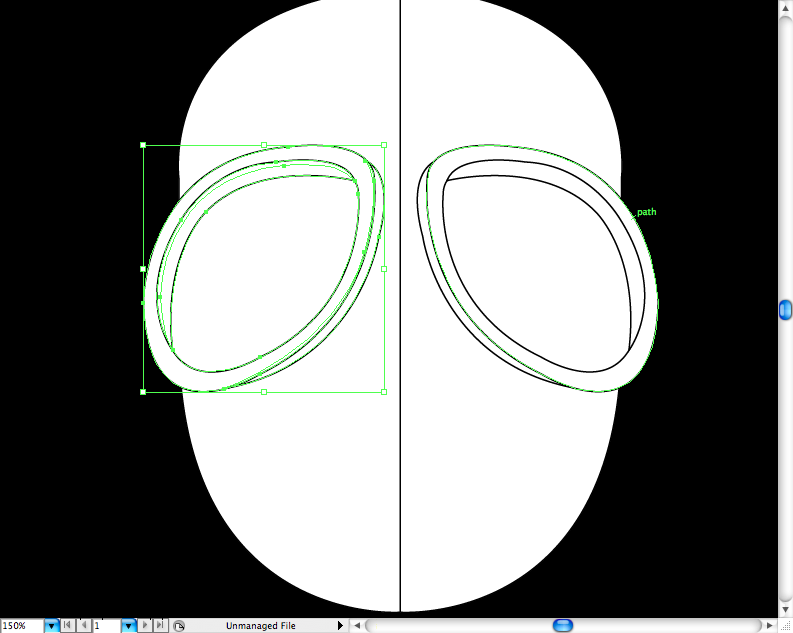
Just duplicate, reflect and place on the other side.
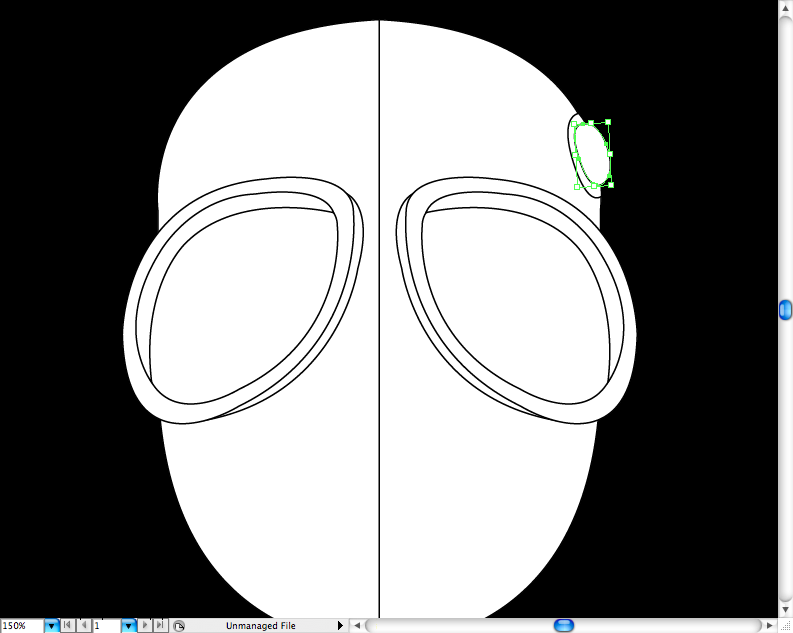
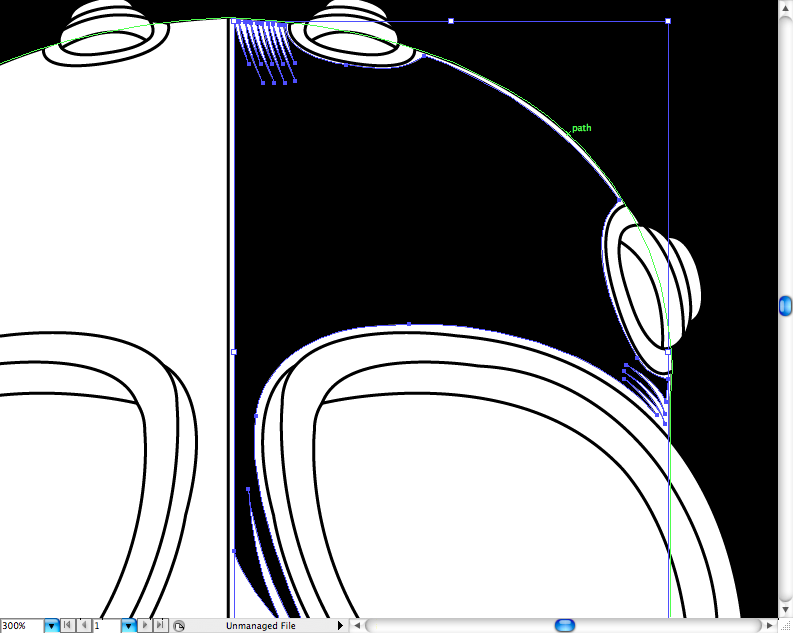
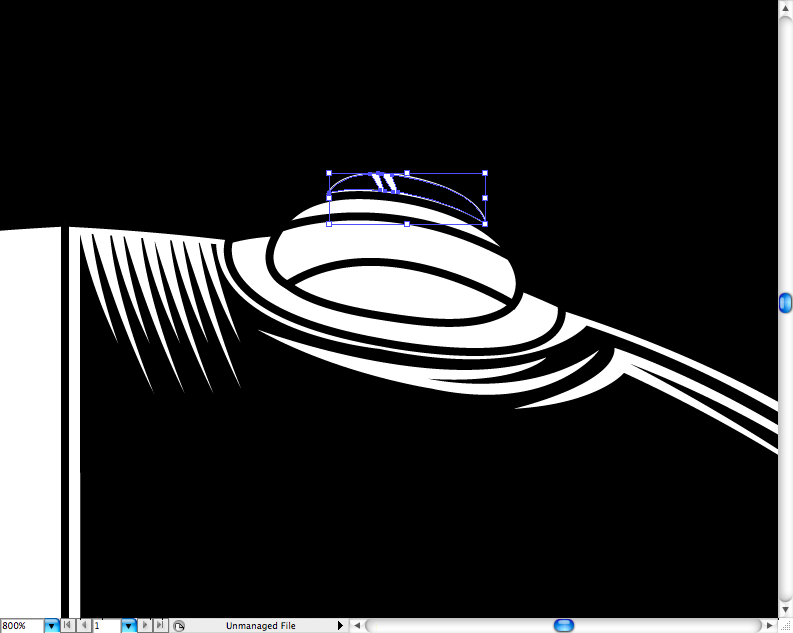
Step 3
Let's make the part where the elastic is usually held. Use
the pen tool (P) to create this shape above the glasses.
You can make a litte pill shape using
the pen tool (P) or
the ellipse tool (L) and adjusting it later.
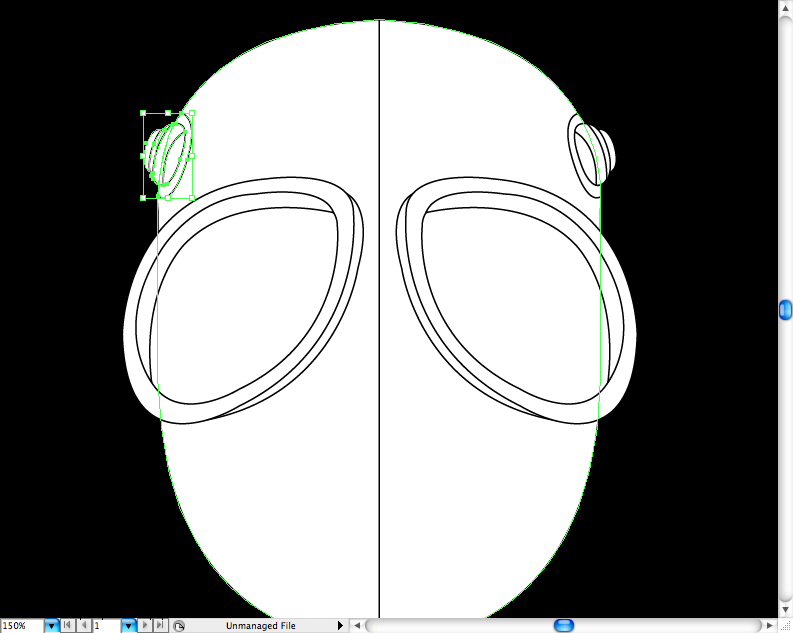
Make this tiny shape behind the pill shape using
the pen tool (P).
Make this shape using
the pen tool (P) and the grabber it's done.
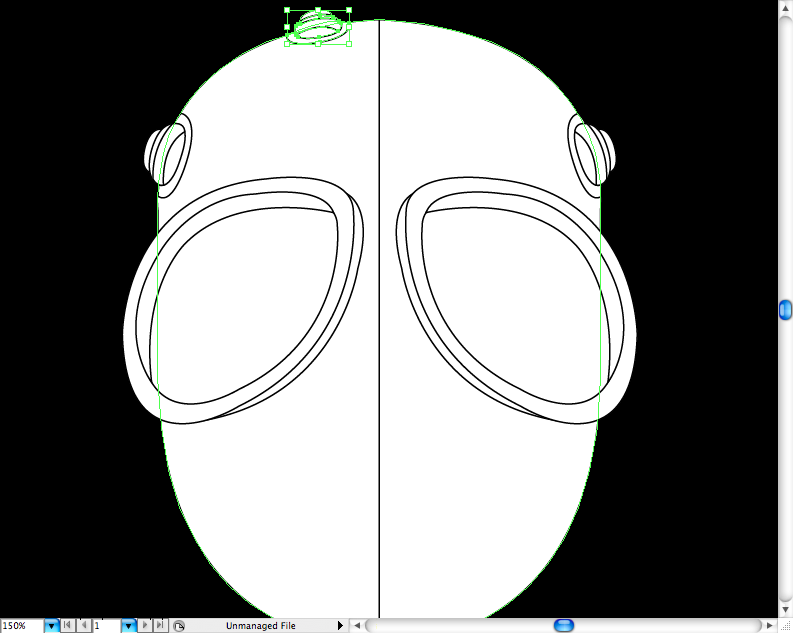
Duplicate, reflect and place on the other side.
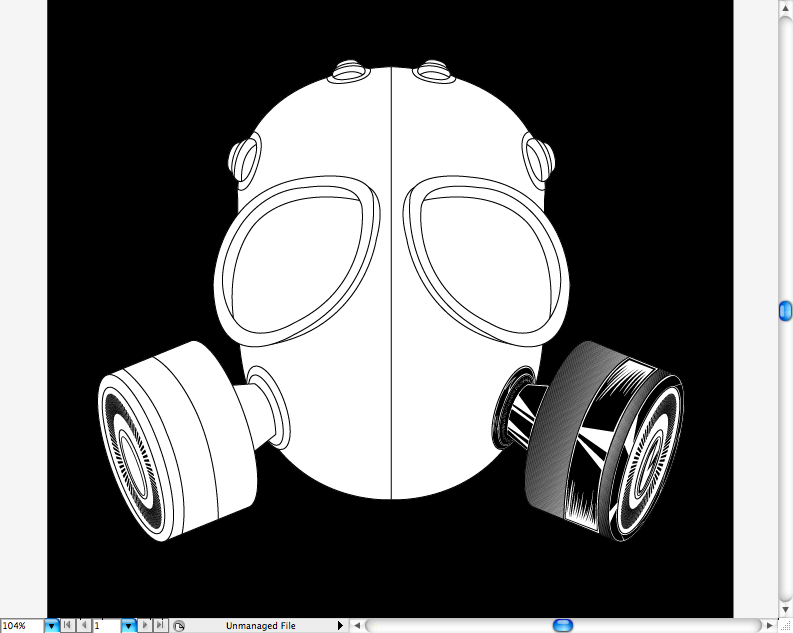
We're going to use the same shapes, we're just going to adapt to put them on the top of the mask.
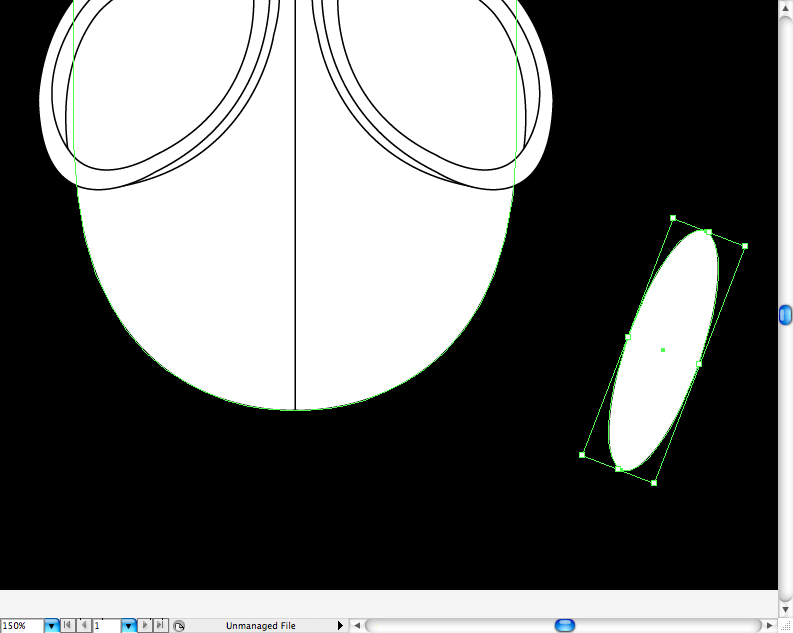
Step 4
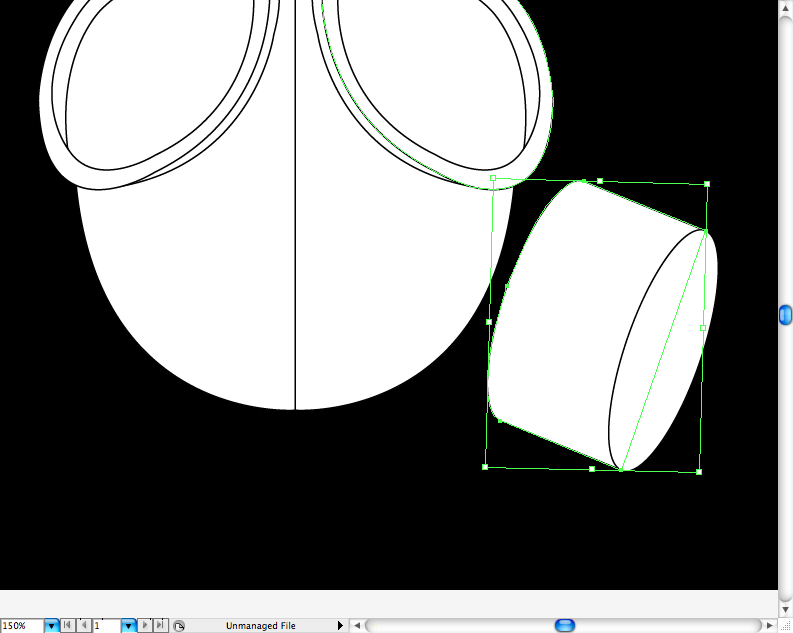
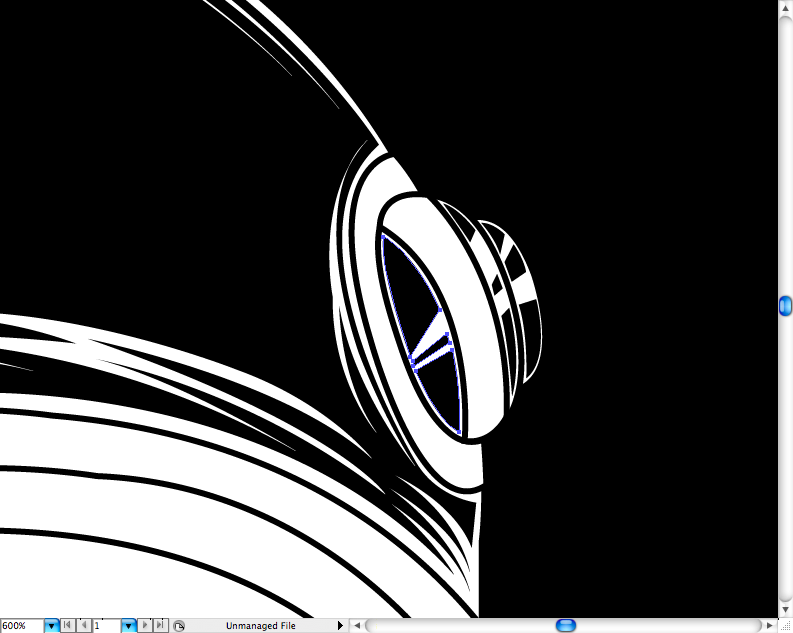
I bet you thought I used the 3D tool to achieve the filter shape, but no. One thing I noticed from a long time using this software is that the 3D render (as the gradients) make the files slower and heavier, so studying vanishing point and other depth disciplines can be pretty handy not just for drawing, but to make files lighter. Ok, back to the filter, use
the ellipse tool (L) to make the bottom of it.
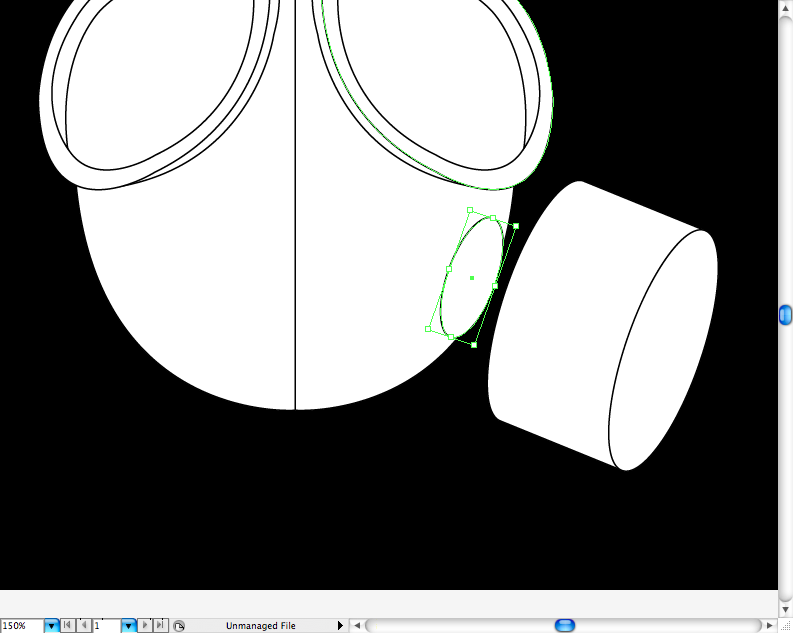
Use
the pen tool (P) to create the whole shape, adjust the error using
the direct selection tool (A).
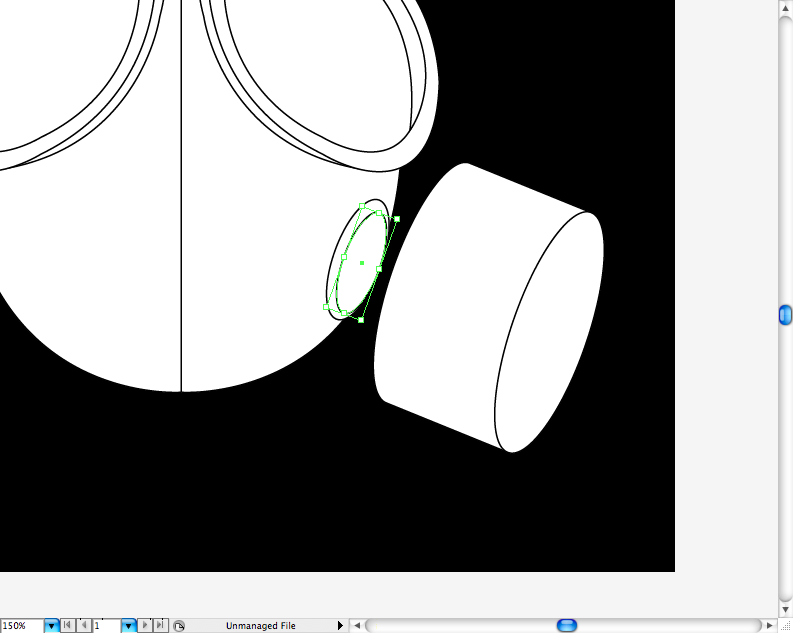
Use
the ellipse tool (L) to make the socket part.
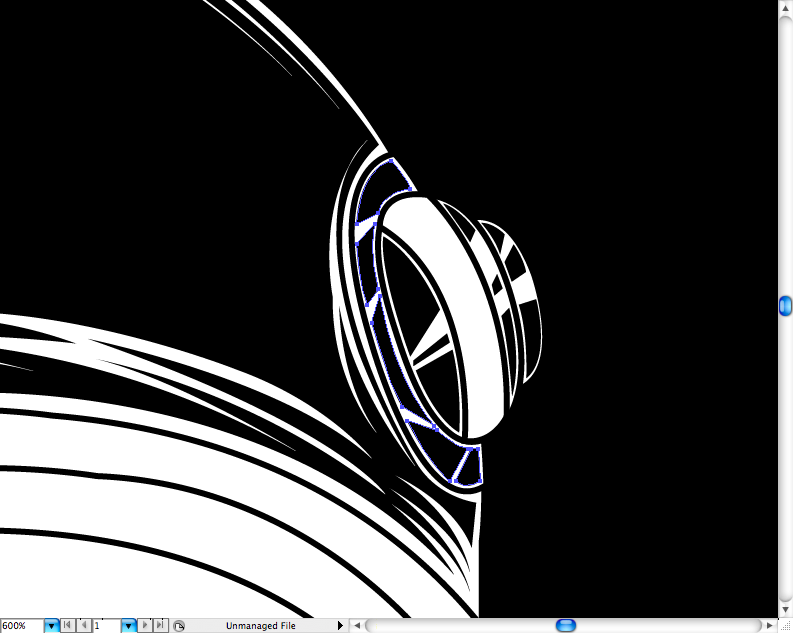
Duplicate and resize the same cirle.
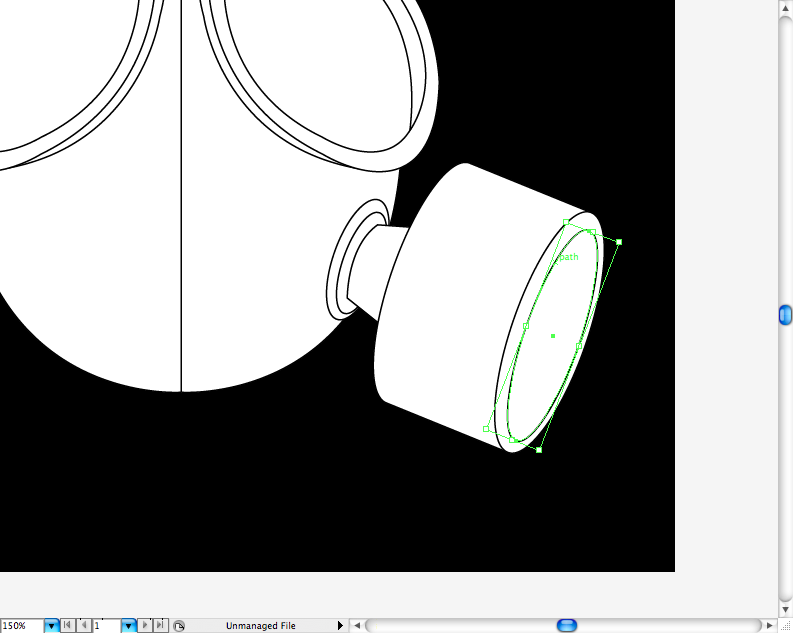
Use
the pen tool (P) to make the bridge of the filter.
Make another circle in the bottom using
the ellpse tool (L).
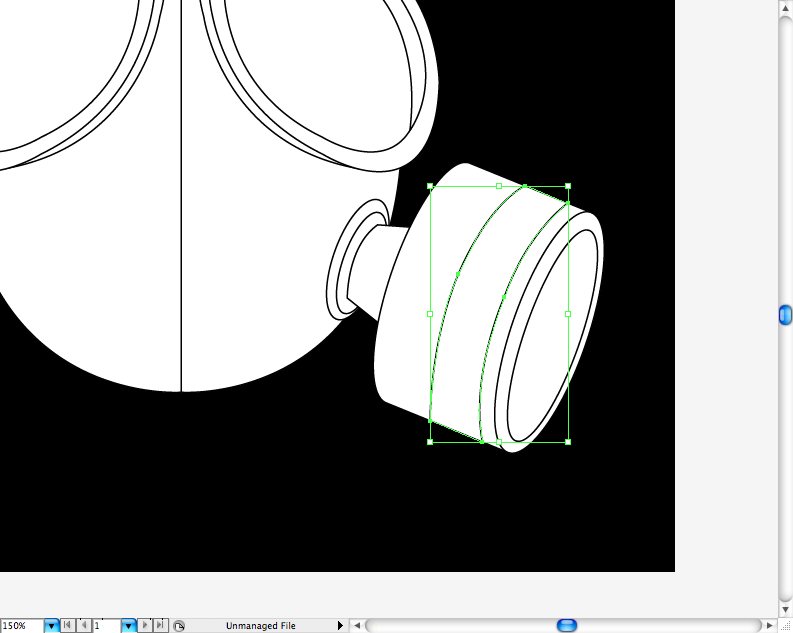
Make a ribbon shape on the body of the filter using
the pen tool (P).
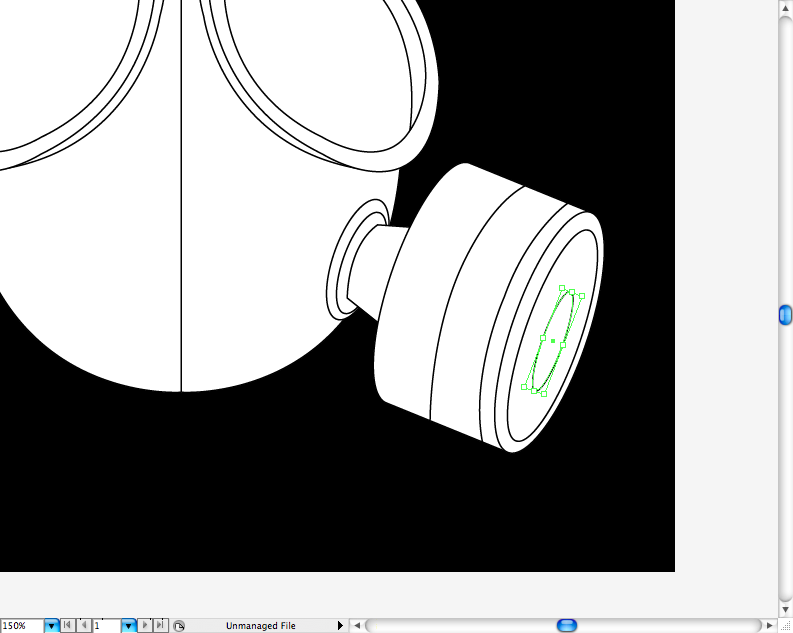
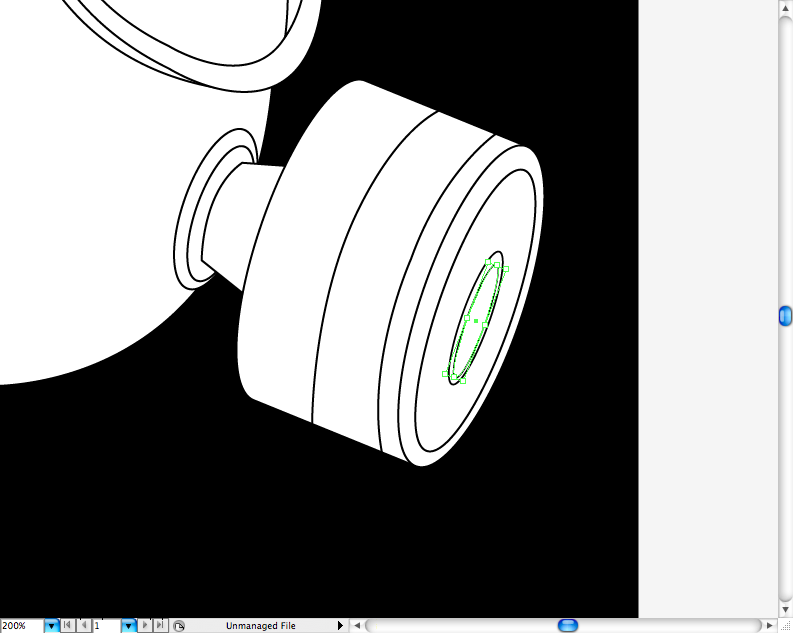
Finally make a little circle inside the circle of the bottom using
the ellipse tool (L).
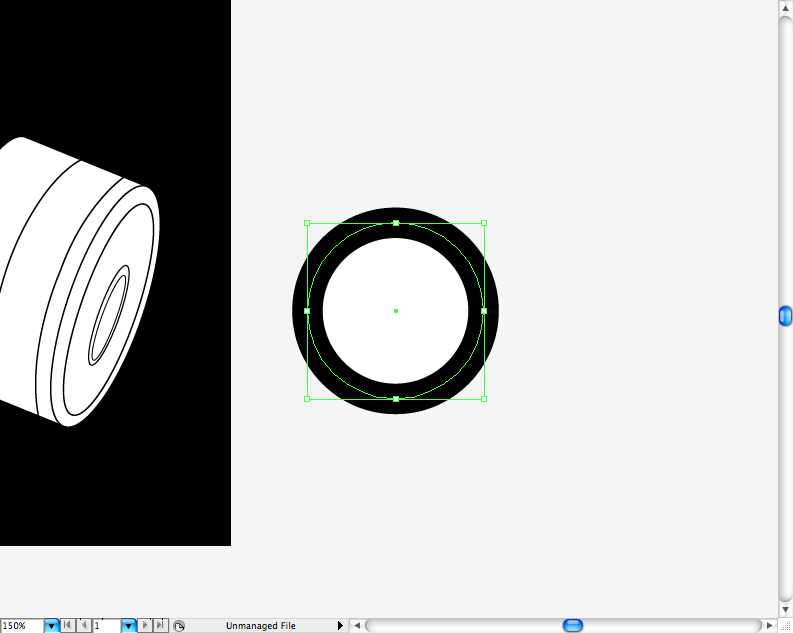
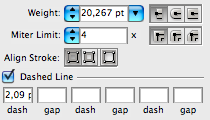
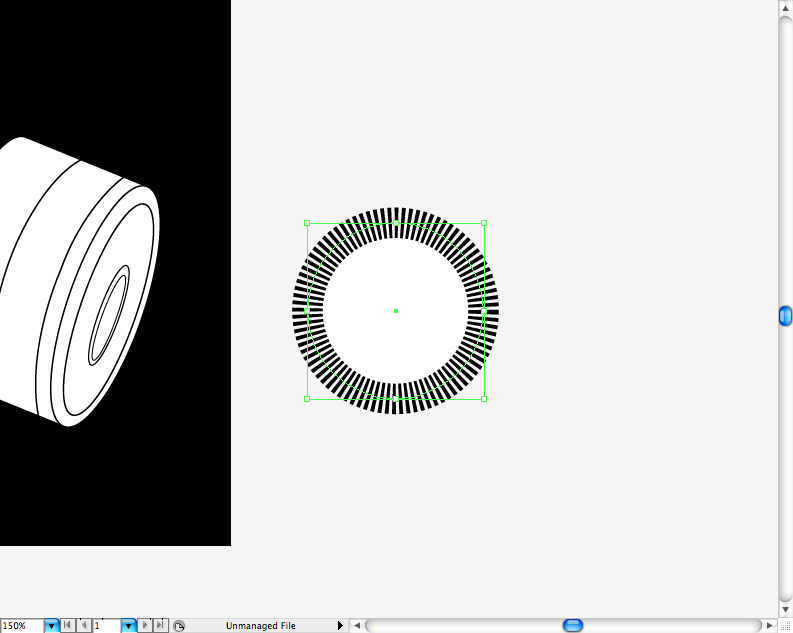
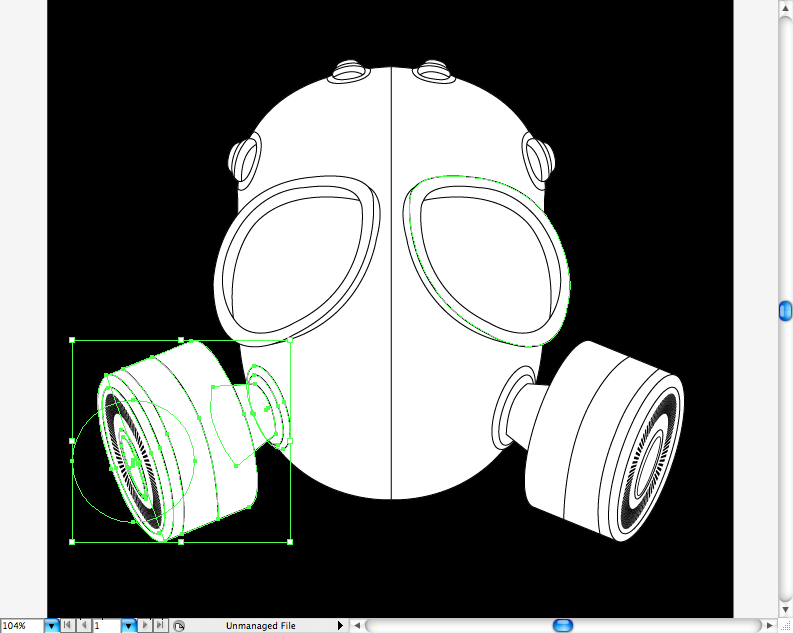
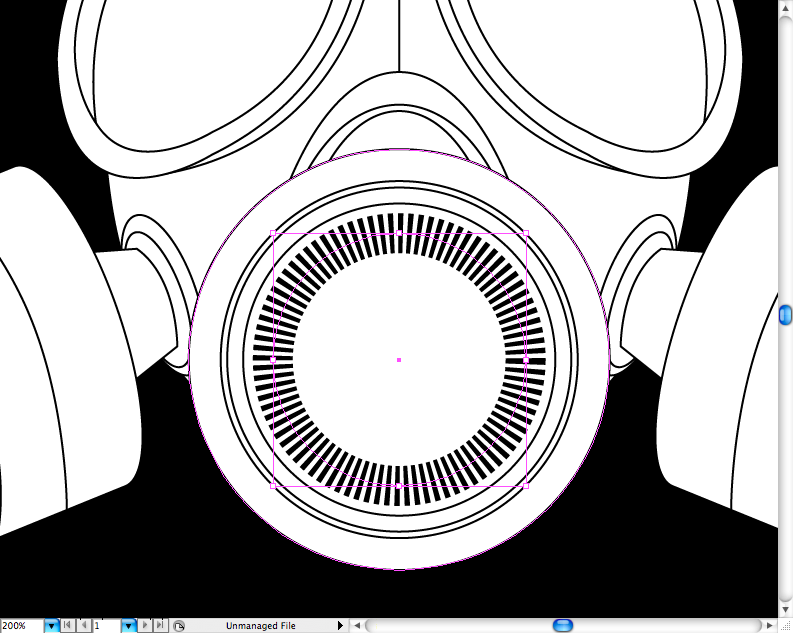
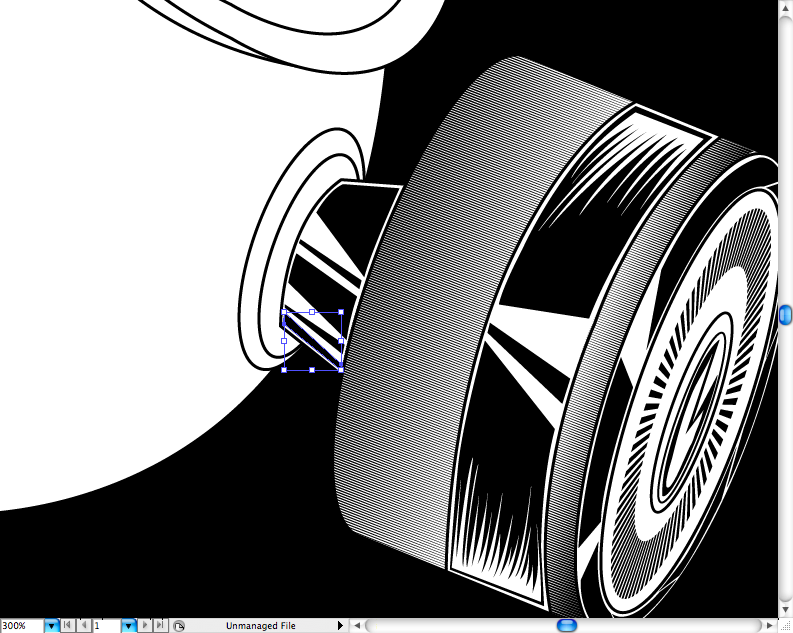
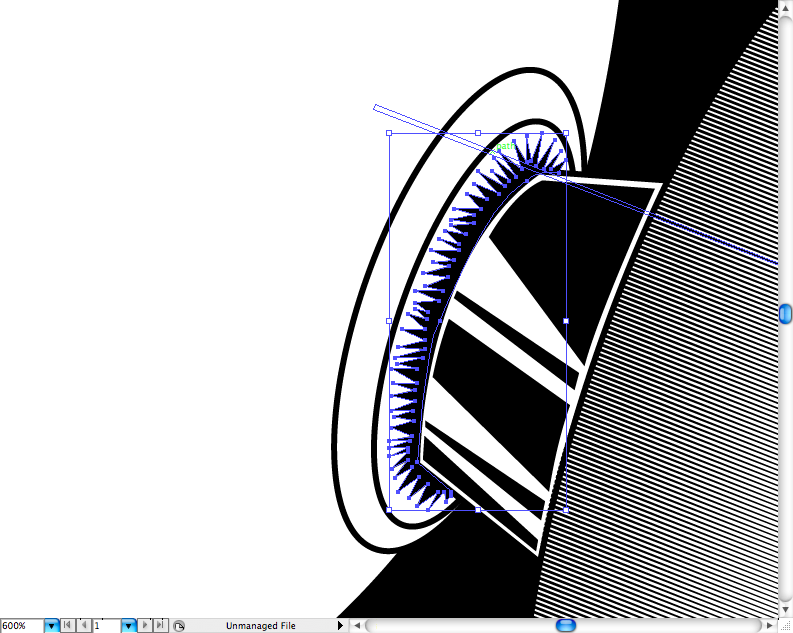
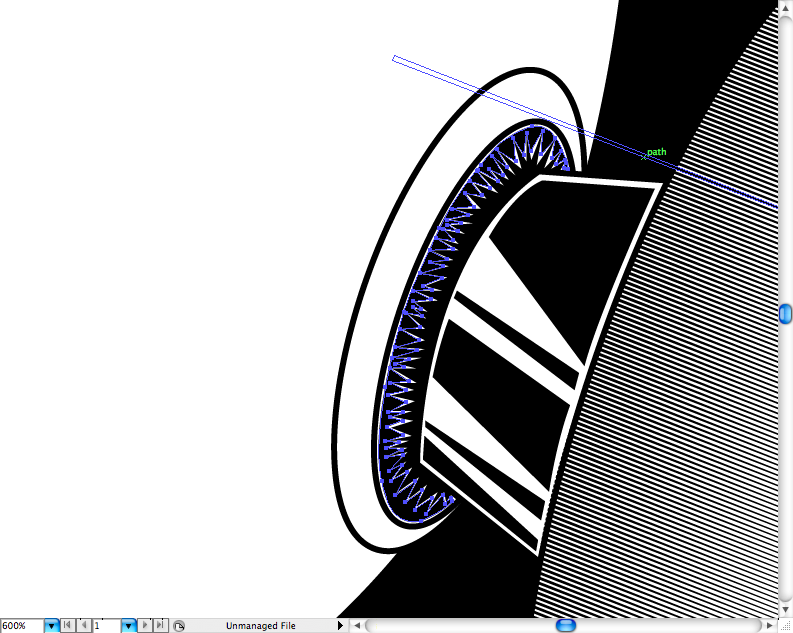
I really dig this trick to make the fans follow this procedure. First create a circle using
the ellipse tool (L), use only a black and thick stroke (20 pt or less).
Go to
the stroke panel and set the dashed line to 2pt dash. You should get these.
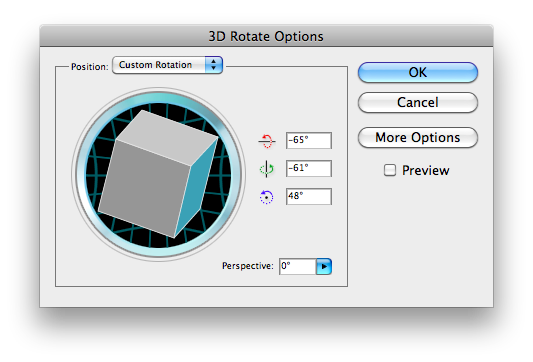
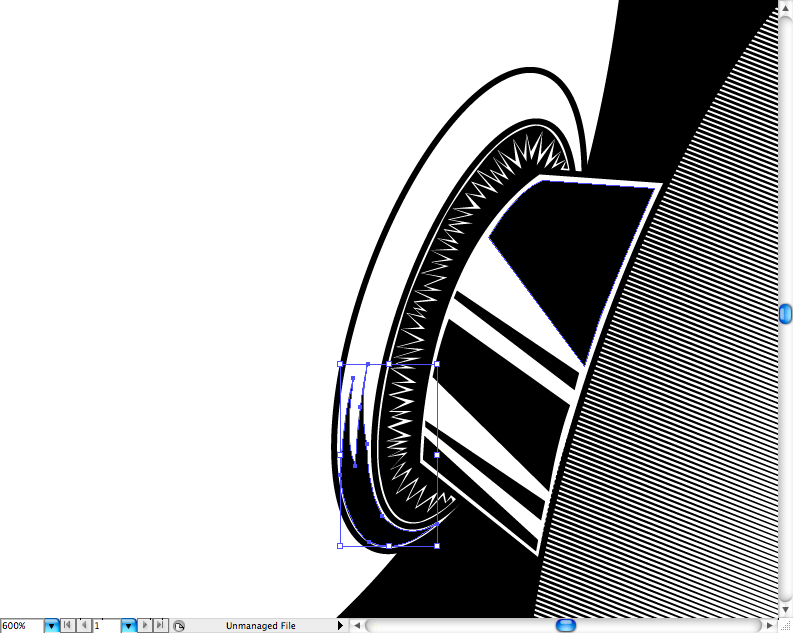
Select it and go to
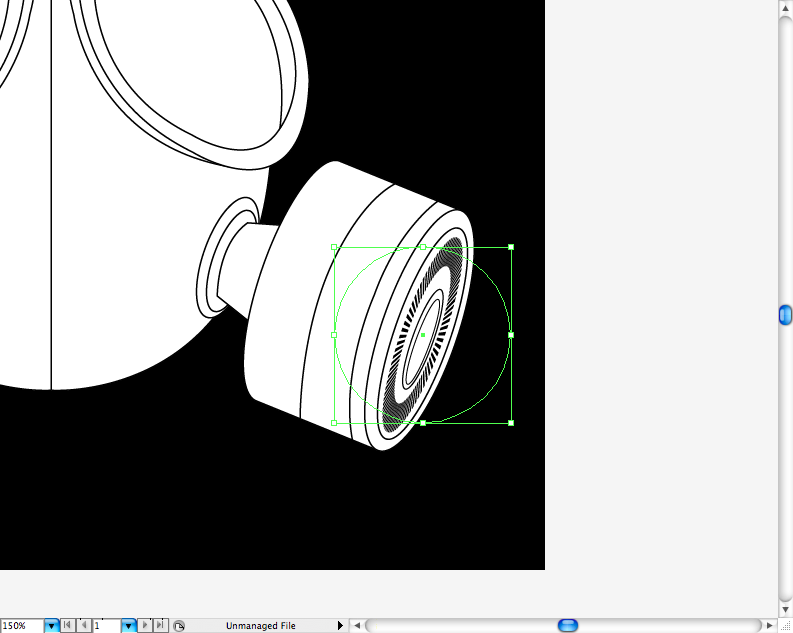
Effect > 3D > Revolve, set the parameters by using the preview to see if everything is on the right perspective, or just copy mine.
Duplicate, reflect and place it on the other side.
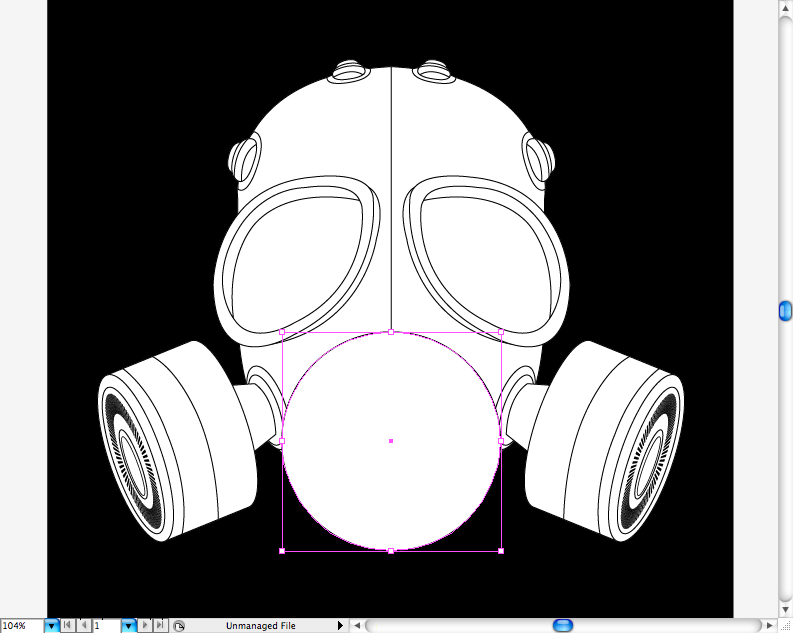
Step 5
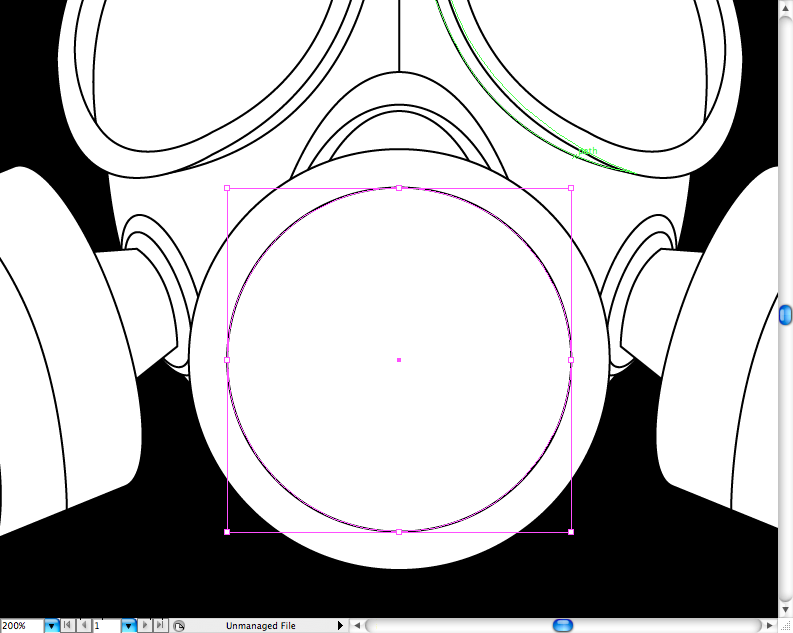
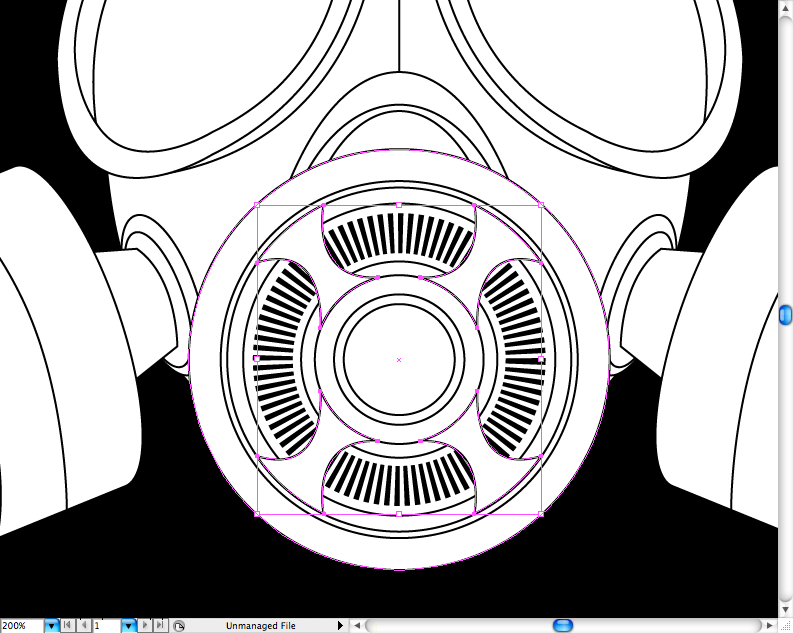
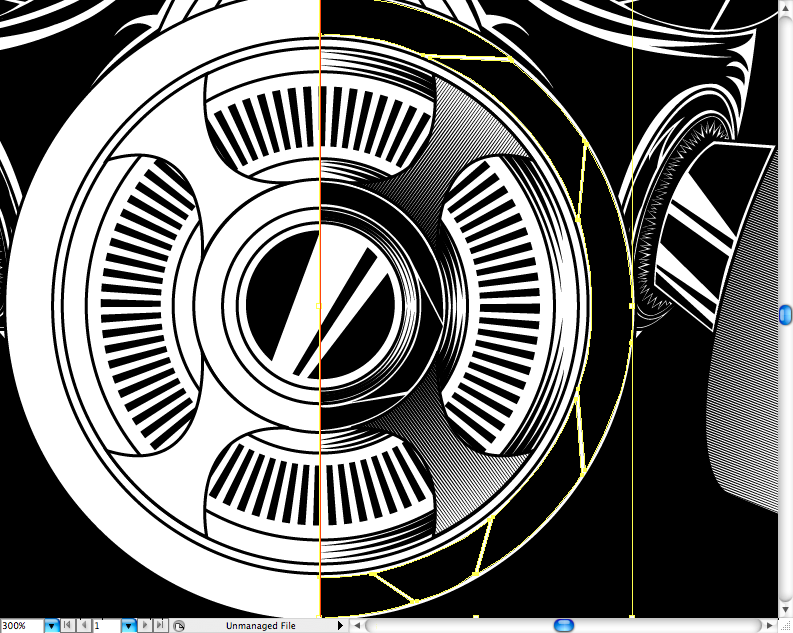
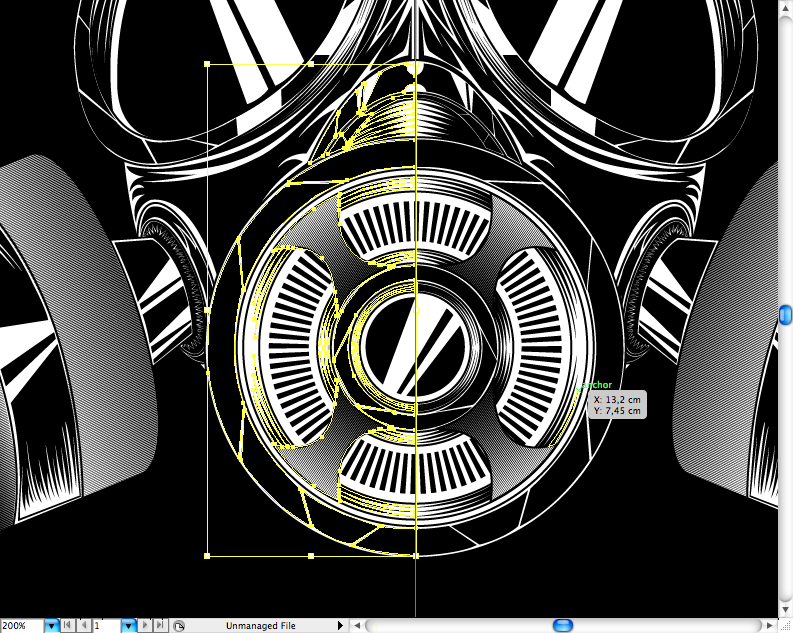
Let's make the central filter. First create a perfect circle by using
the ellipse tool (L) and holding
Shift.
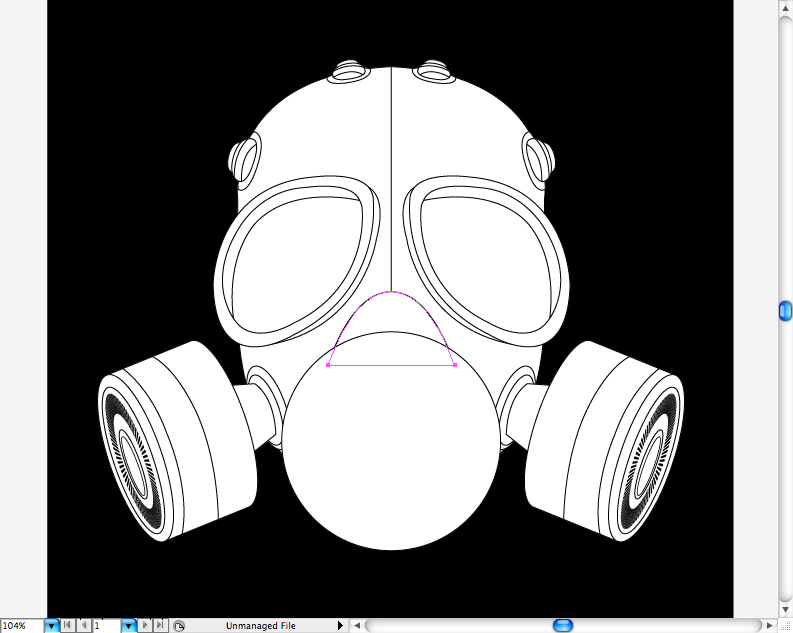
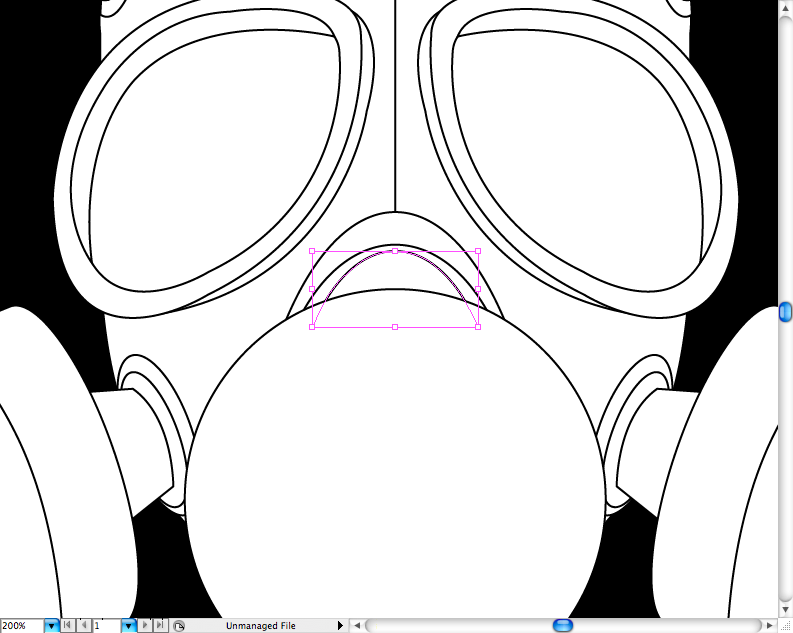
Use
the pen tool (P) to create the shape that fits the nose.
Make this shape using
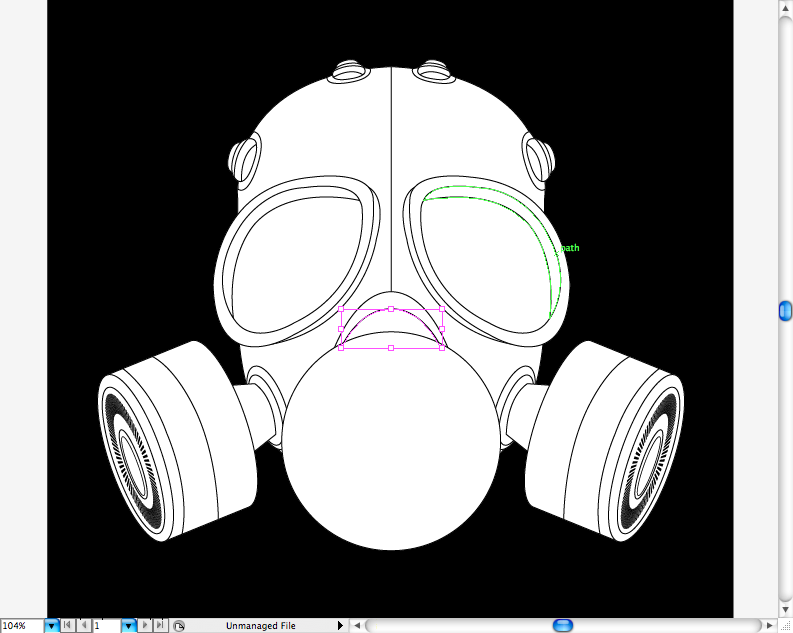
the pen tool (P) to make the border.
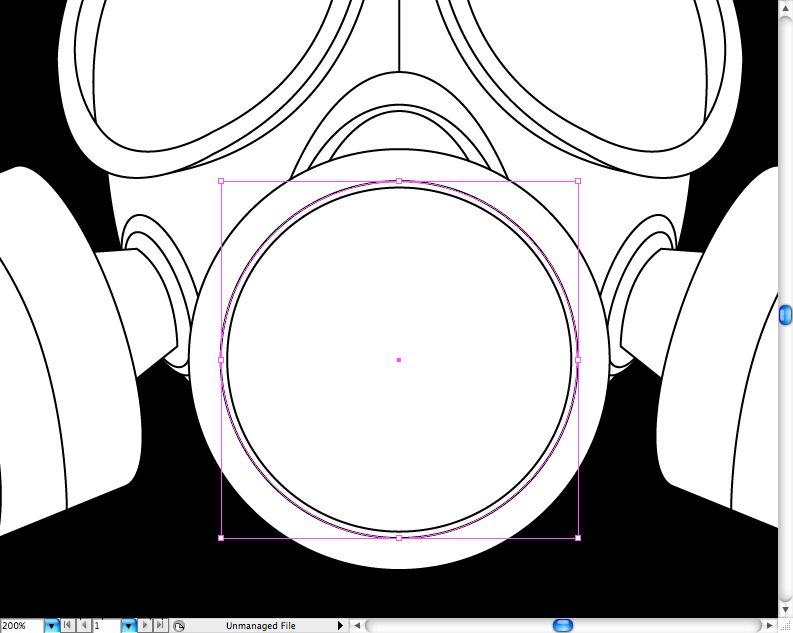
Add this other one to give depth to this part.
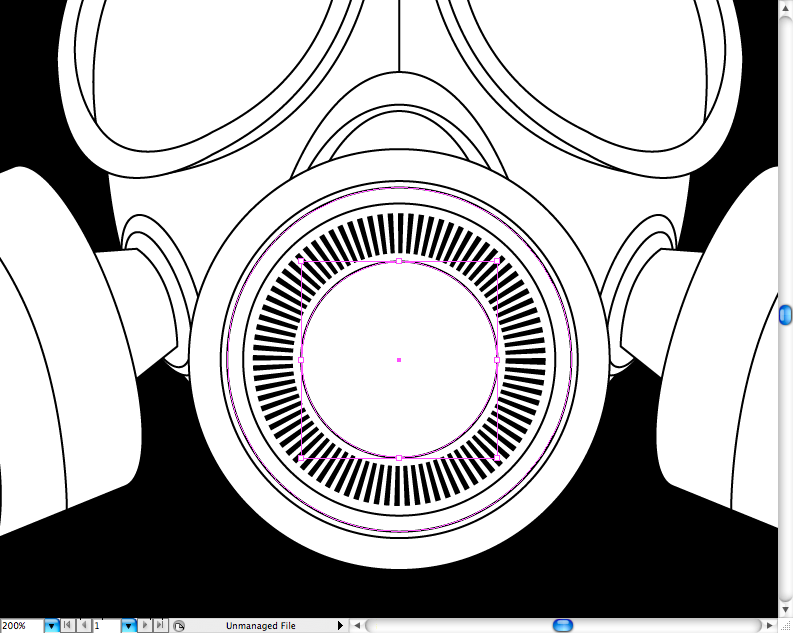
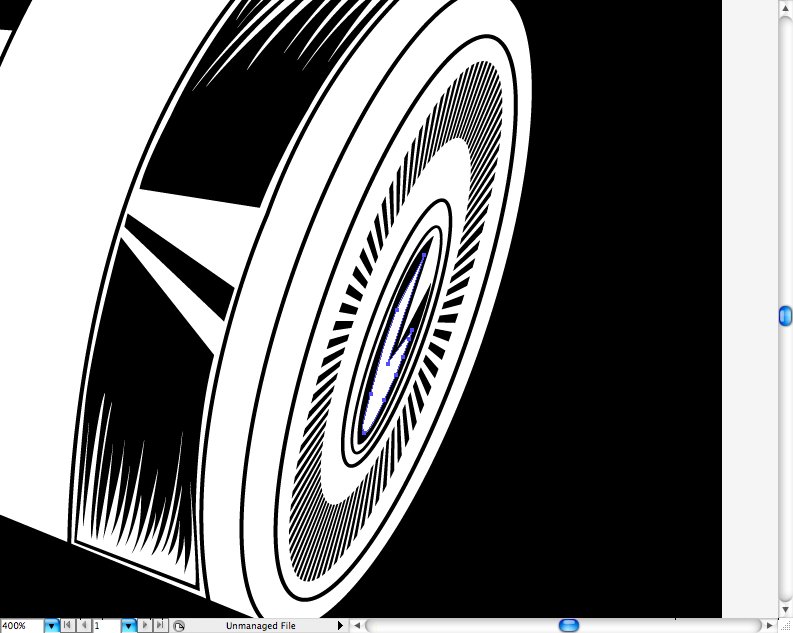
Make another circle inside the main circle.
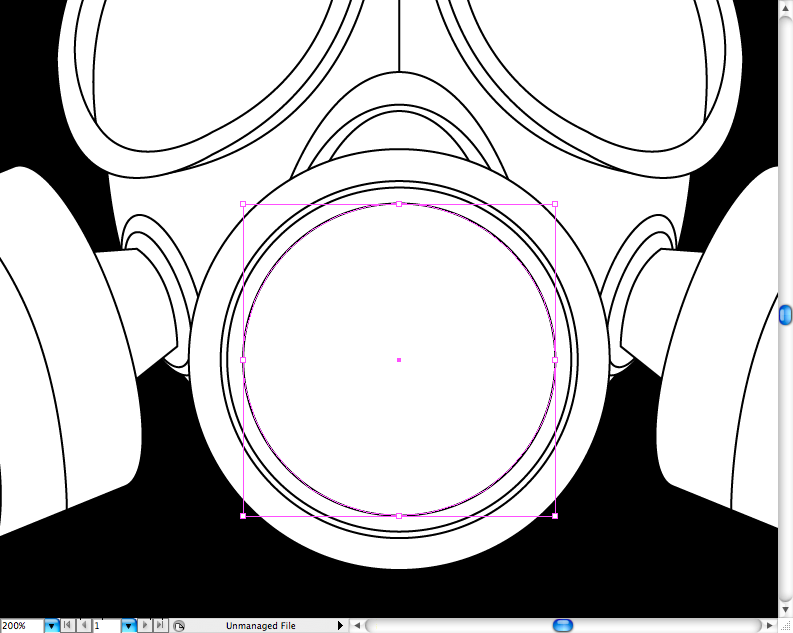
This is really cool: Proximity and distance can cause depth effects. So here we're going to duplicate the previous circle and just adjust it a little bit smaller.
One more circle with a bigger spacing.
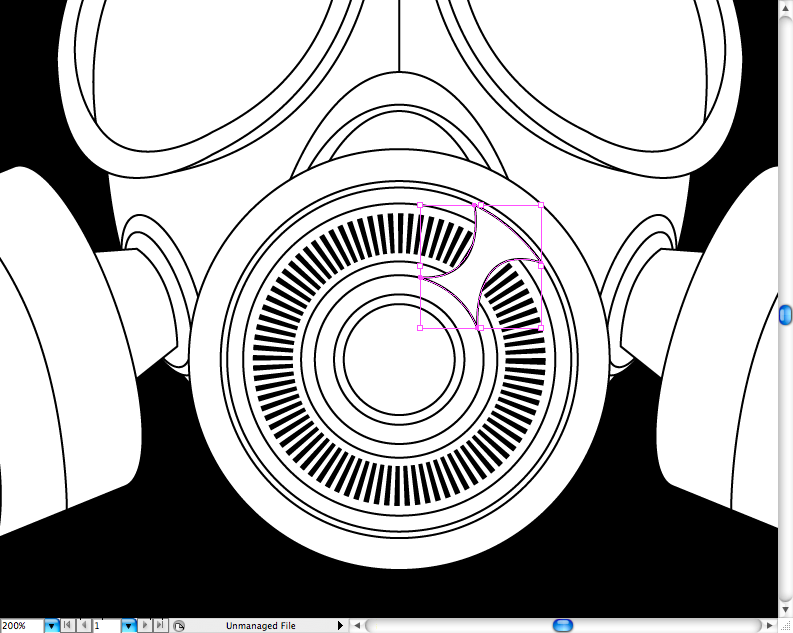
Remember the fan vector? Go there and get a copy of it without the Revolve effect, place it on the center.
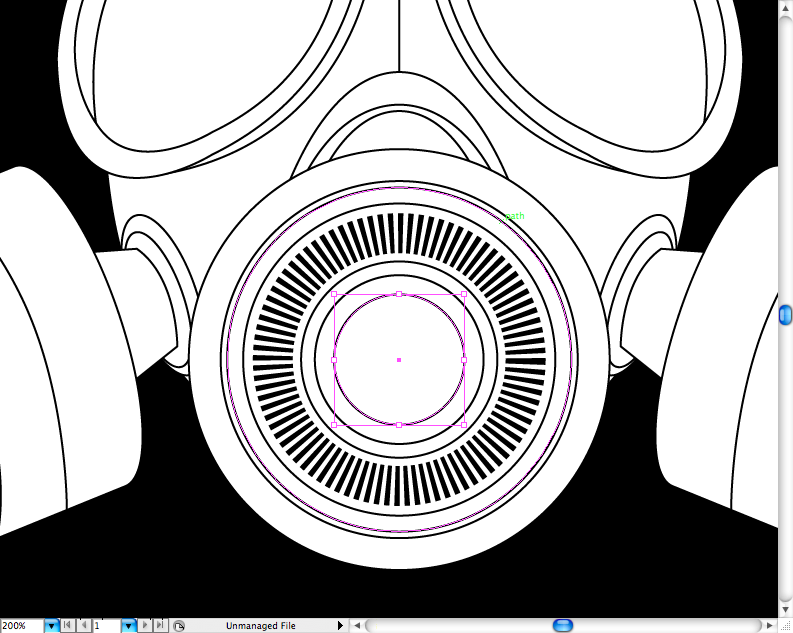
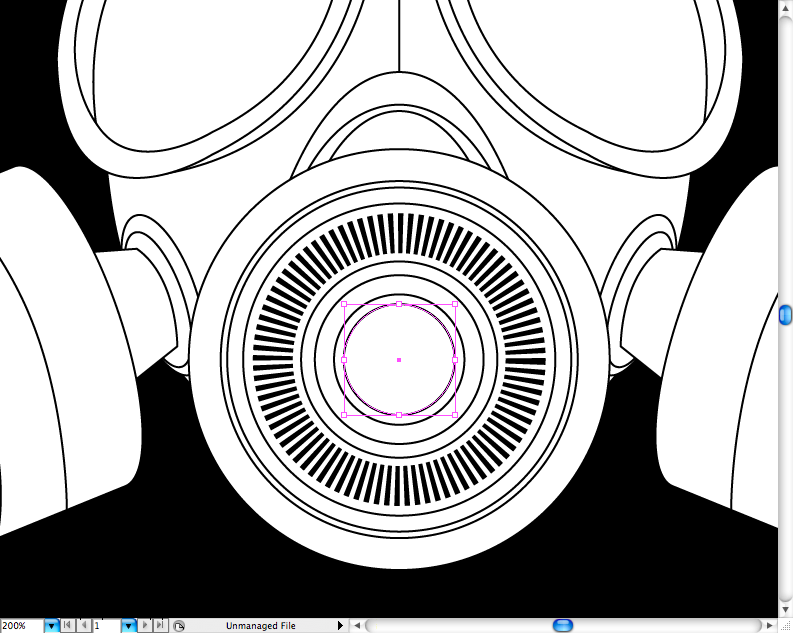
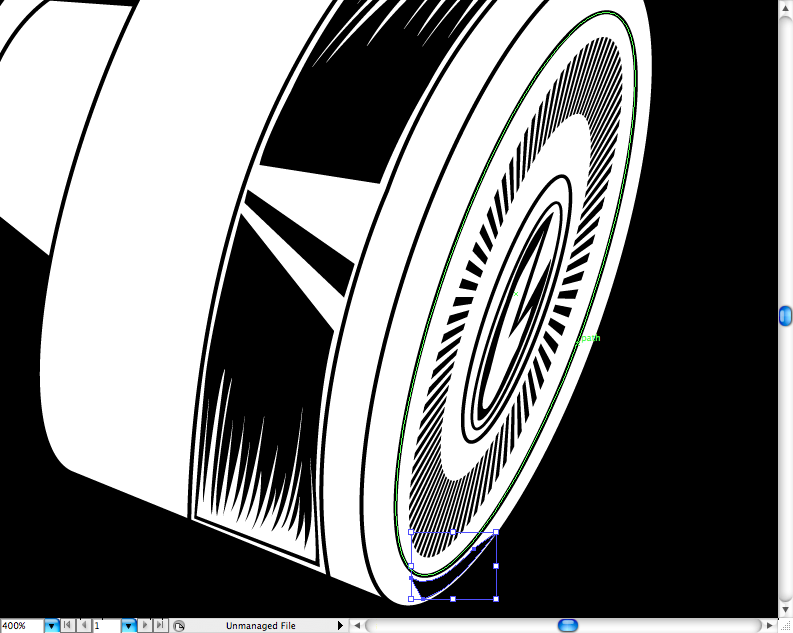
Yeah, you must be tired of making circles hehehe but here goes another one.
And another one...
...and another one...
...and the last one, watch for the proximity used here, or you probably won't get the depth effect.
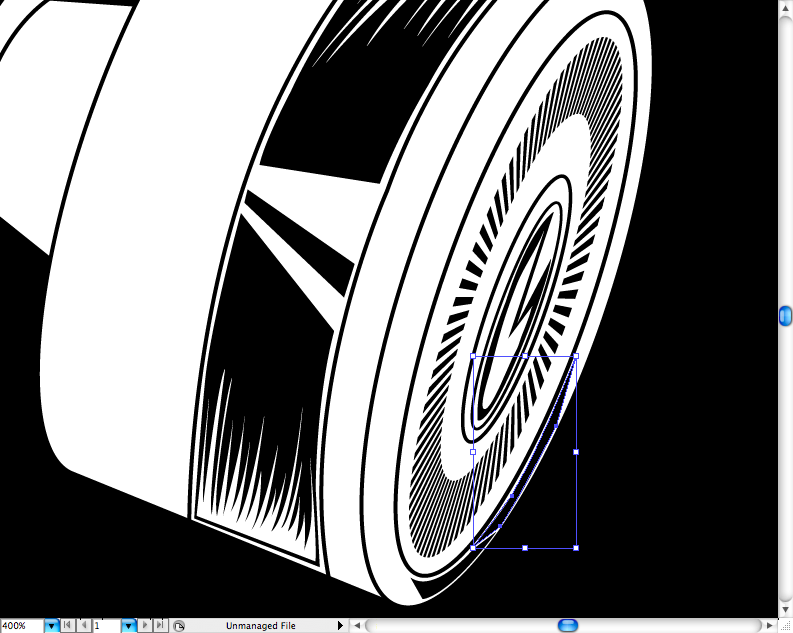
I also added this shape to be like sustentation piece, use
the pen tool (P) to create it.
Then duplicate, reflect and place on the other side.
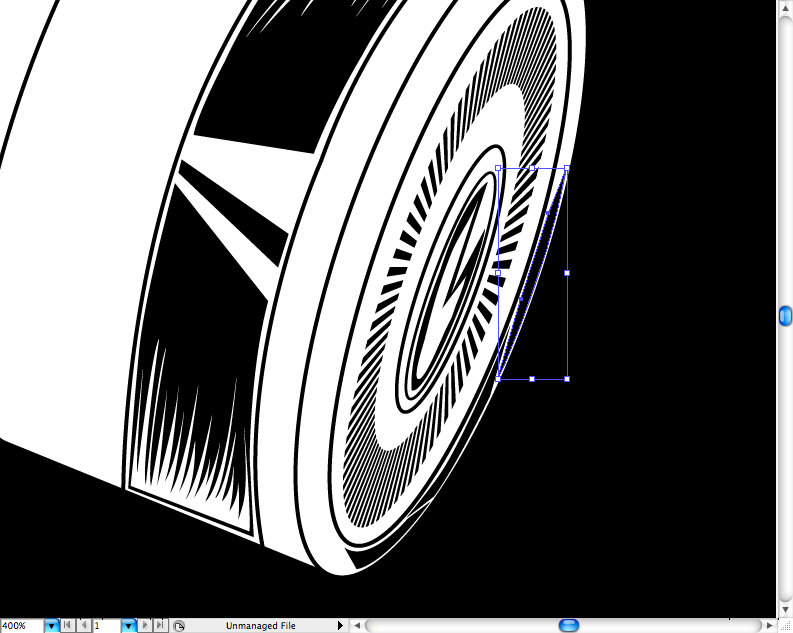
Do the same thing with the lower part.
Ok, so the outline is finished, now let's skip to the shading part.
Shading
Step 1
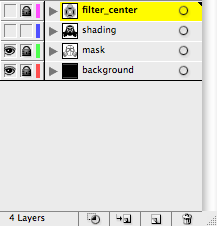
Before starting this part we should "clean the mess", so go and adust your layers like this, make an exclusive layer for the central filter and hide it for now.
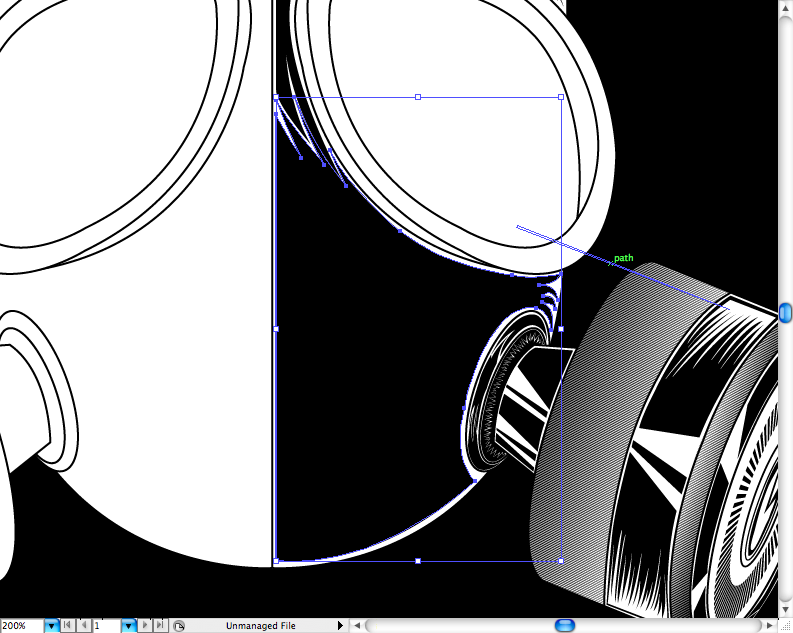
Let's begin with the right filter, using
the pen tool (P) you're going to add these black shapes on the ribbon.
Some of you may fear this type of hachure as a drunk fear rehab, but you've got to use it. It takes time to master and make it quick but go easy with
the pen tool (P) using a white fill and you're going to achieve it.
Just add this divider to make the reflection on the ribbon clear.
Go to the little circle of the bottom of the filter and make this shape using
the pen tool (P).
Duplicate, resize and use the
Minus Front option on the pathfinder panel to make a hole in it.
I call this type of filling "Cracky filling" because it's not uniform, it can be simply achieved by using
the pen tool (P).
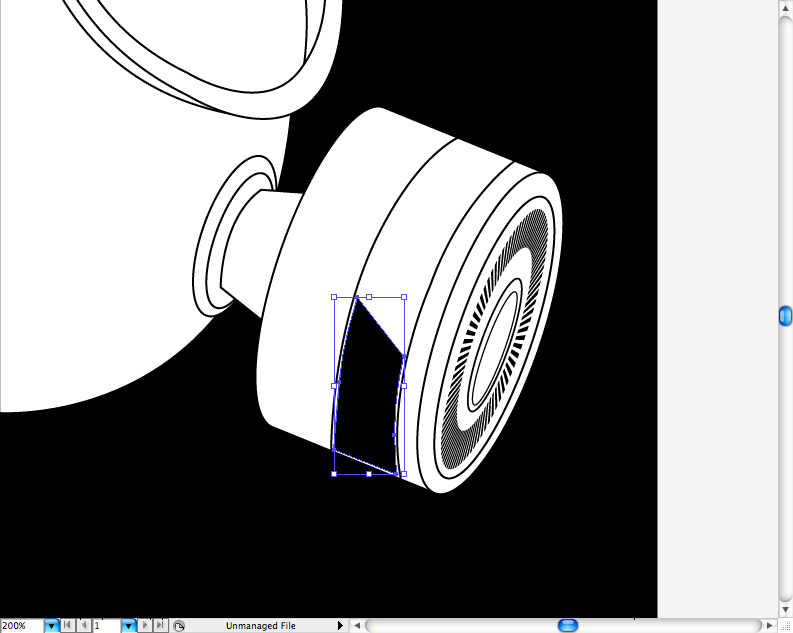
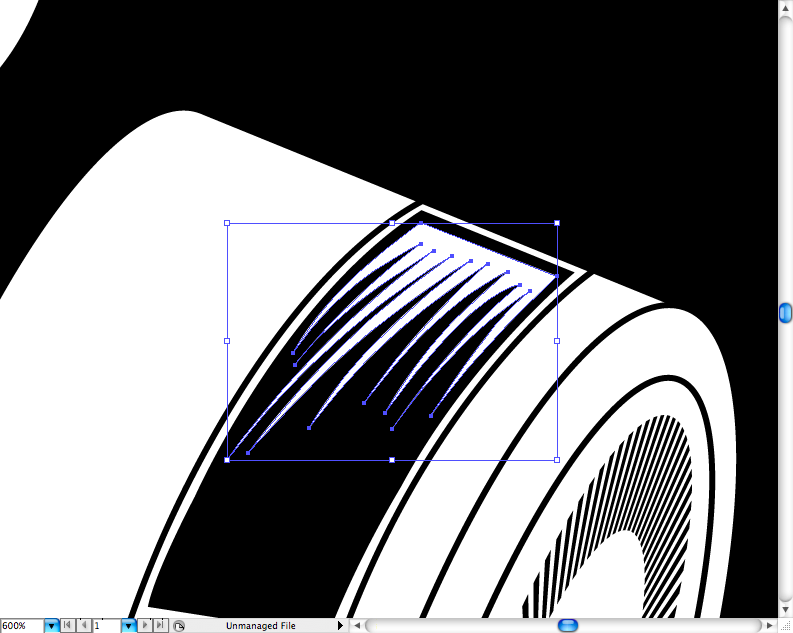
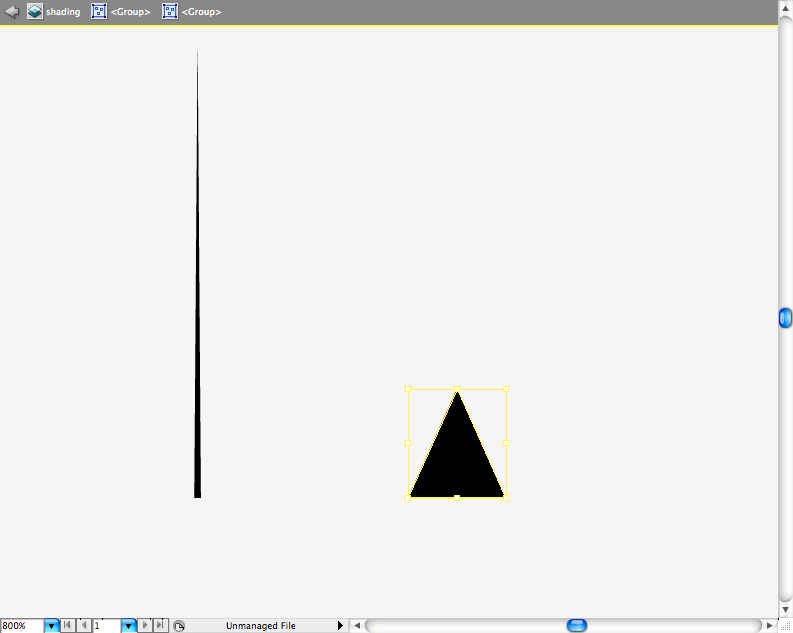
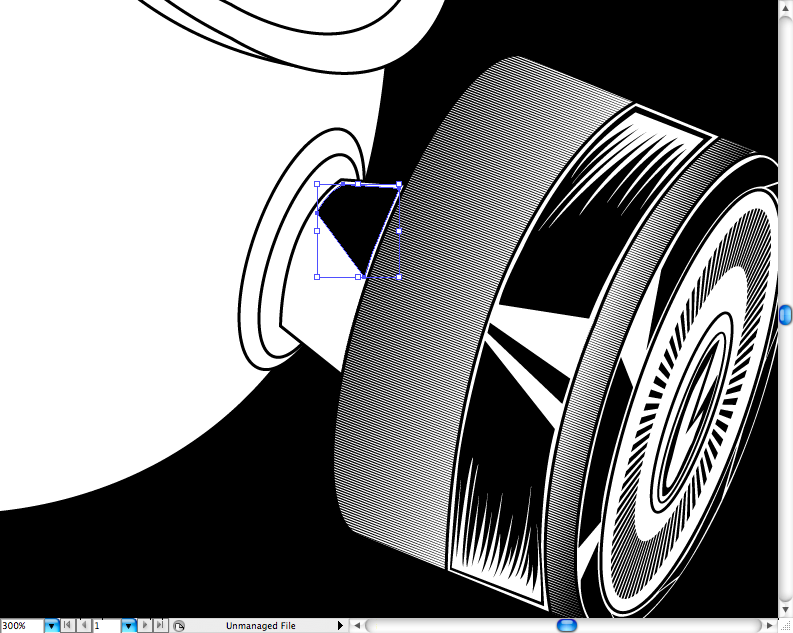
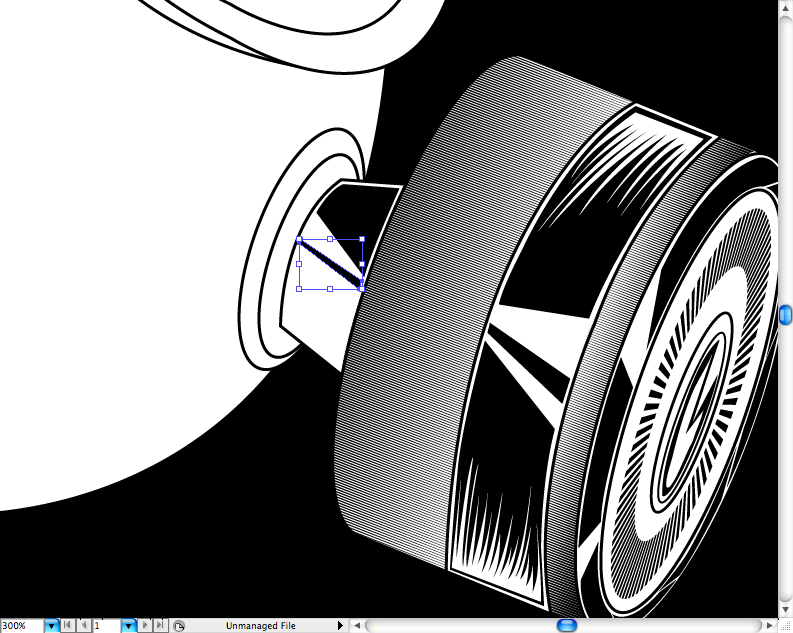
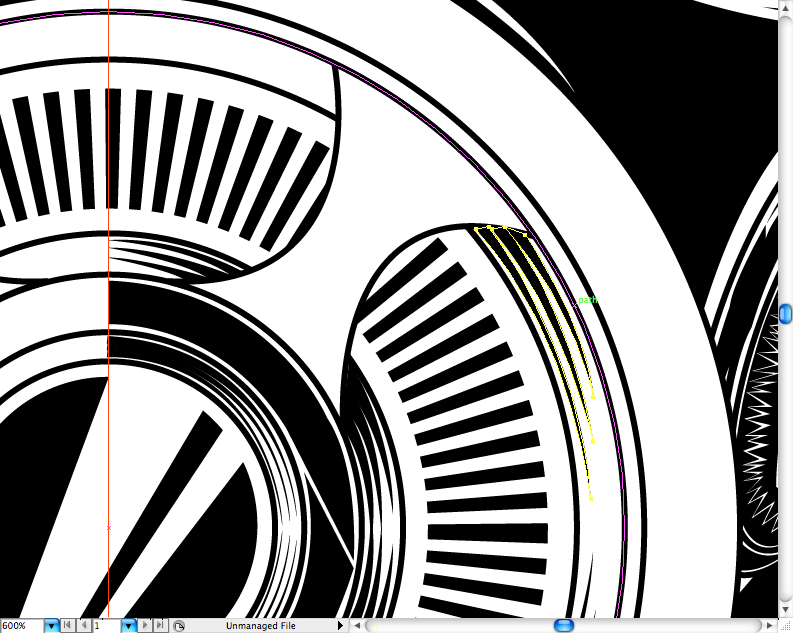
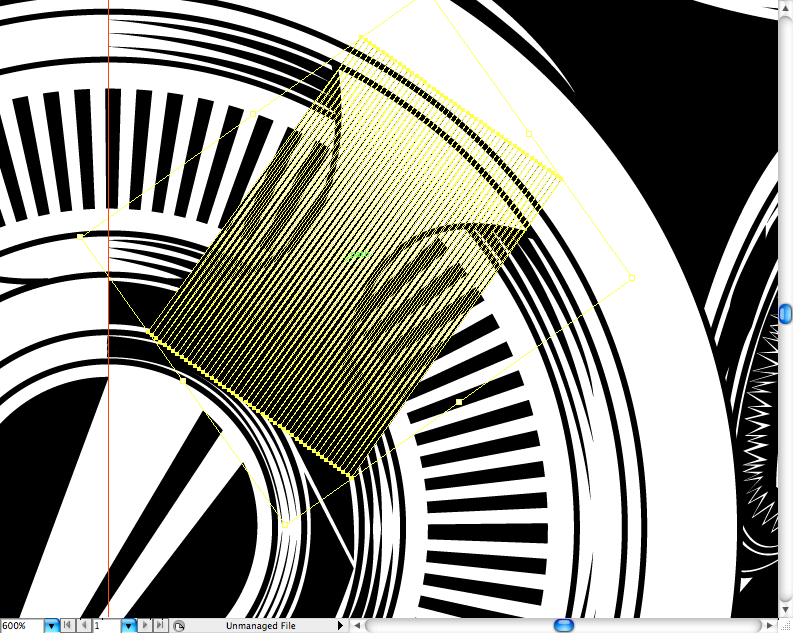
Now this is a really old trick that I already showed you guys on the Hellboy tutorial: Create a triangle, make it slim, duplicate it many times and group it.
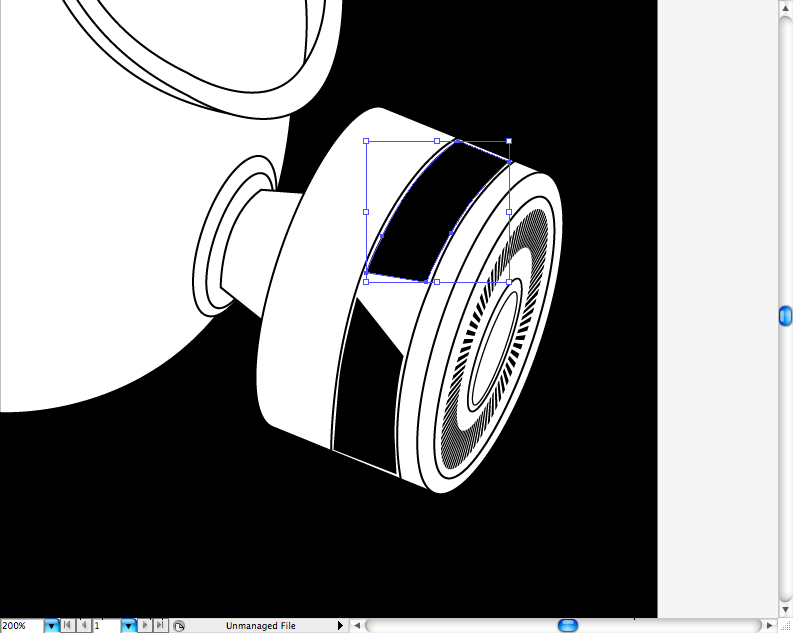
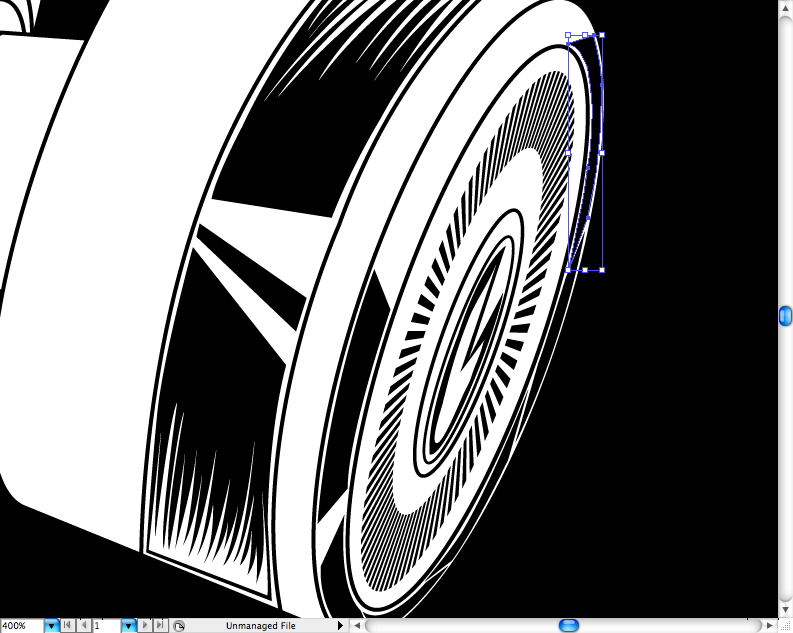
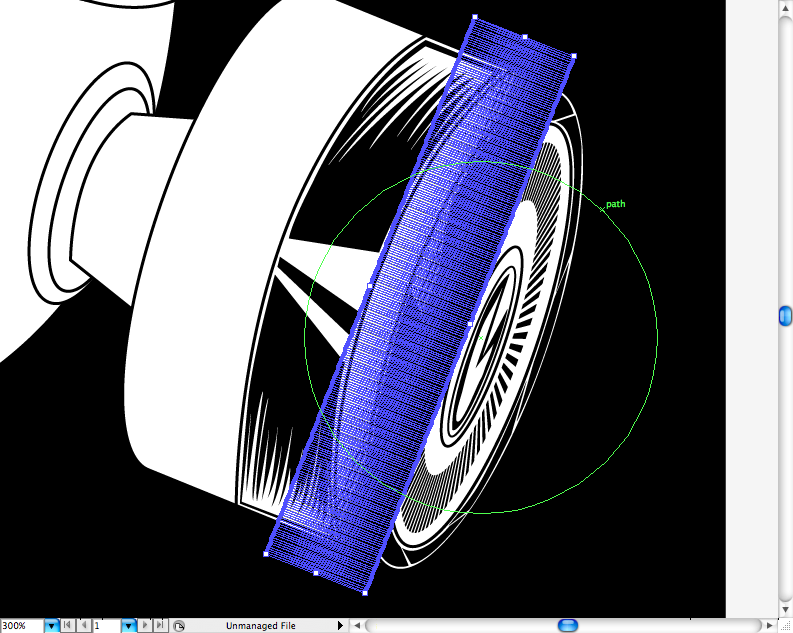
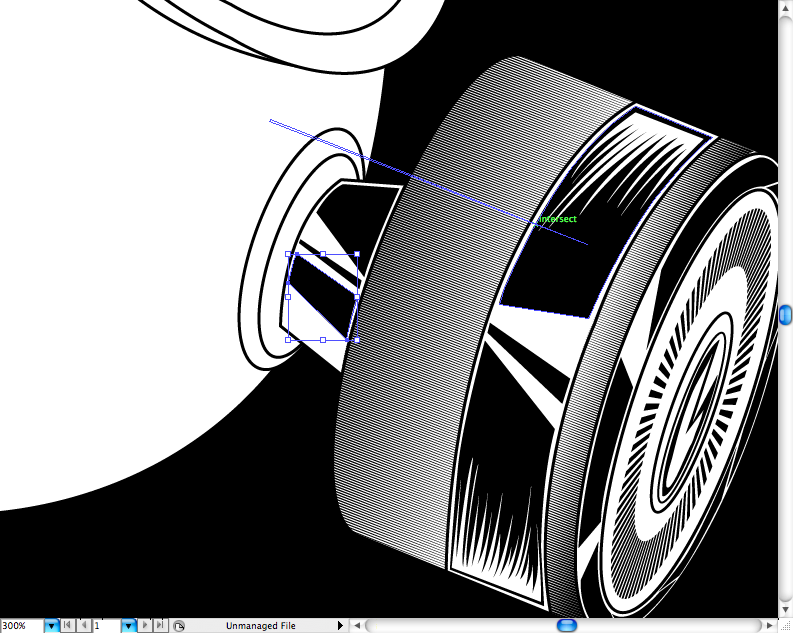
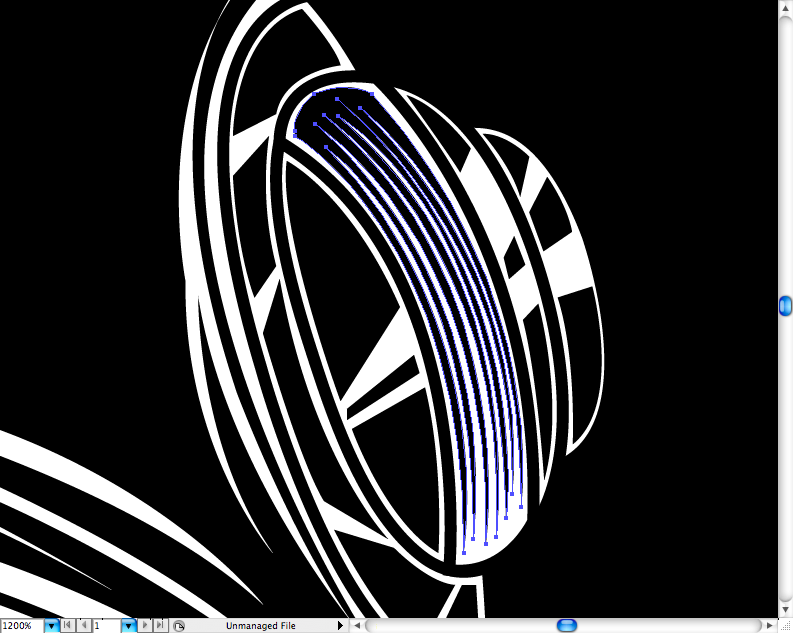
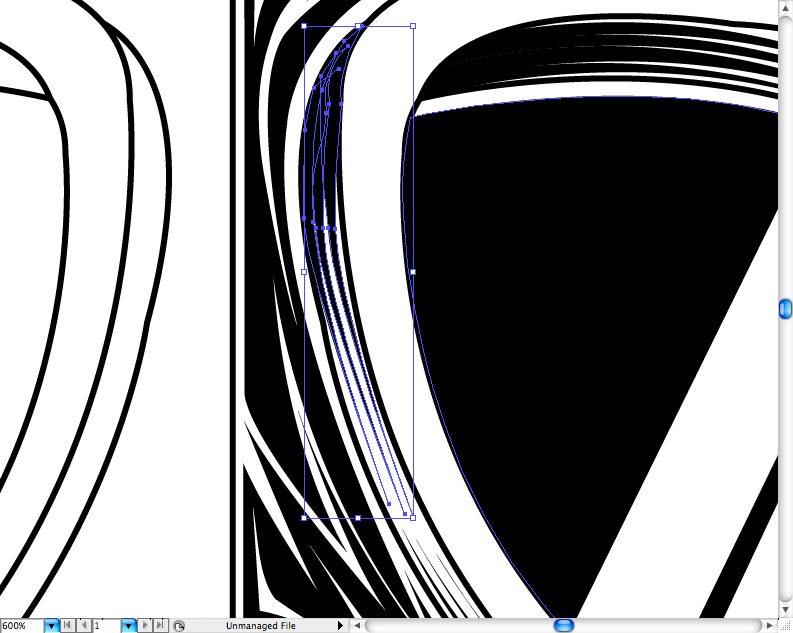
Ok, now go to the body of the fliter and place it like this the hachures. Make a trace on the area you want to be filled using
the pen tool (P).
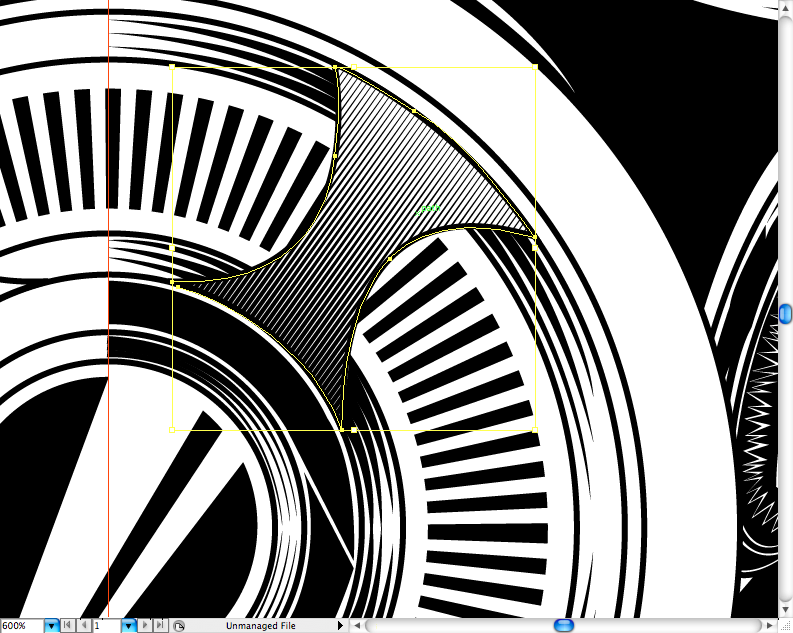
Make a
clipping mask on it
(ctrl + 7 / command + 7).
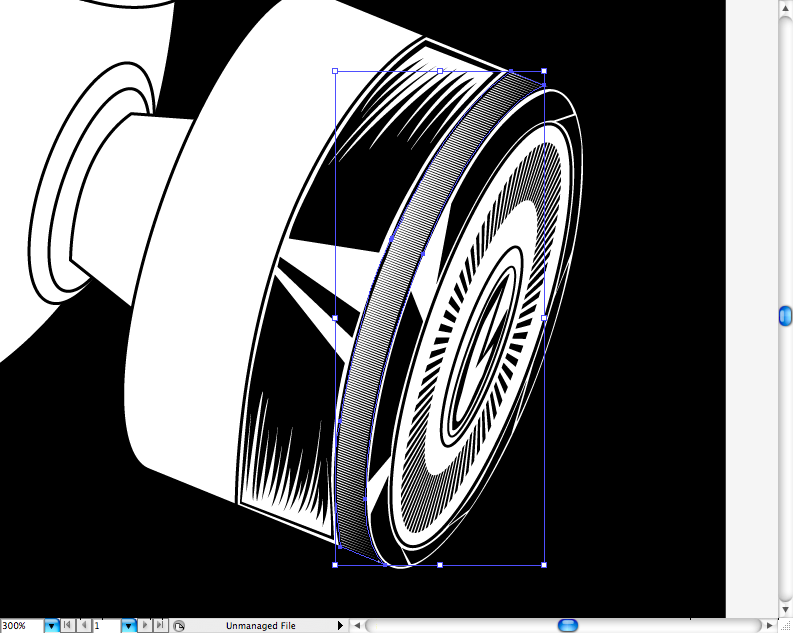
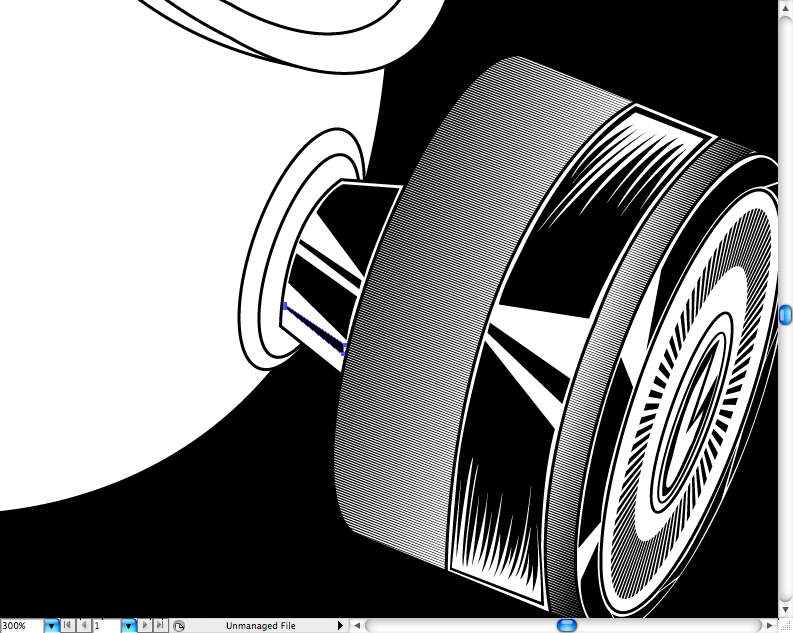
Repeat the same procedure on the other extremity, just watch the direction of the hachures.
Let's create some black shapes on the bridge using
the pen tool (P) to make some reflexes.
I added some cracks to look like it's embedded to the mask, this will take some time, but as you see, it's just some sharp shapes using
the pen tool (P).
I also added some "cracky filings" on this part.
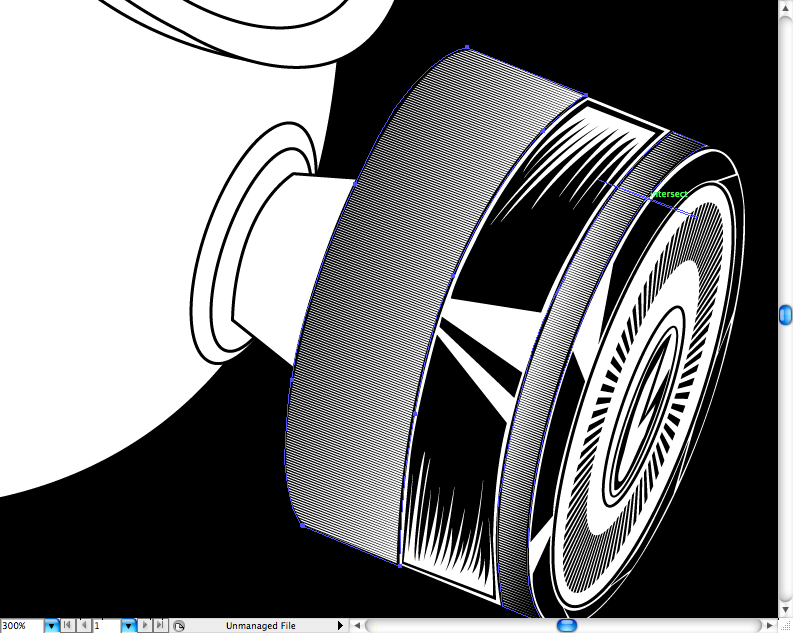
The filter is done, time to go to the rest of the mask.
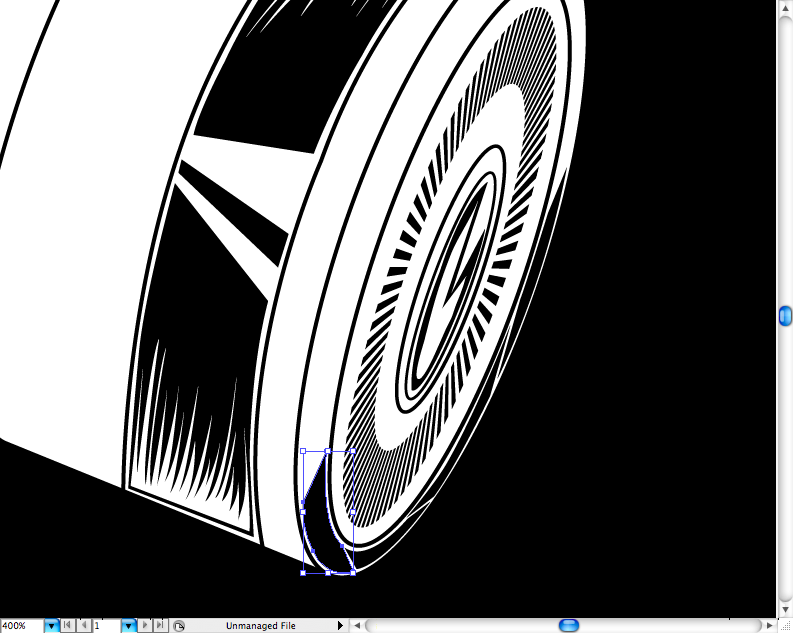
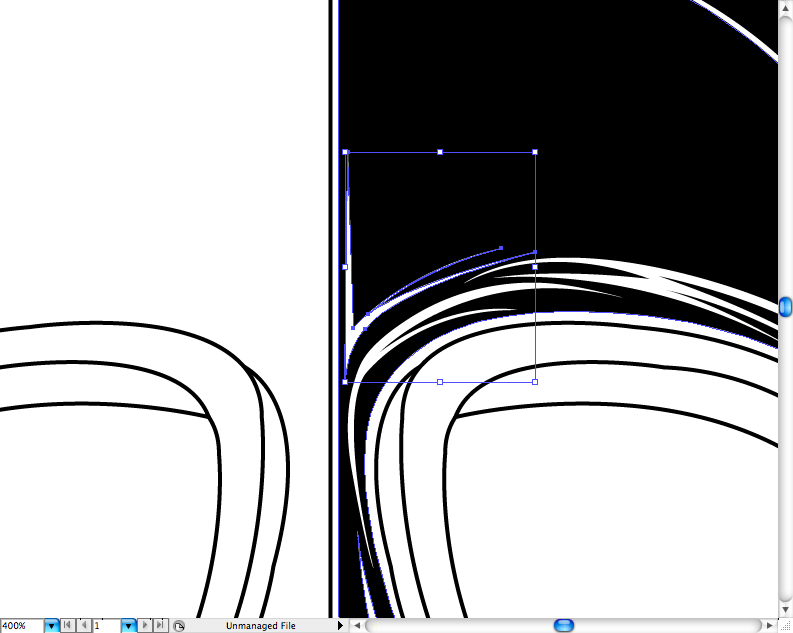
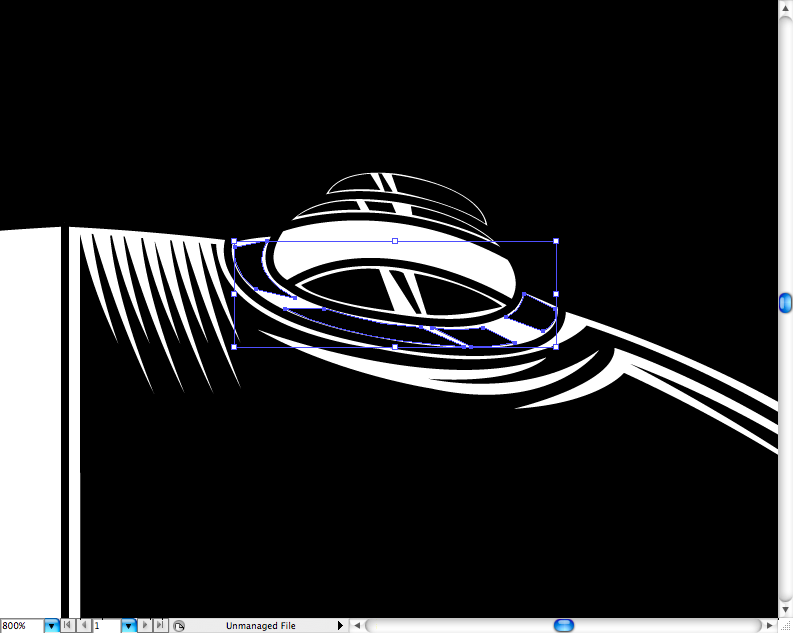
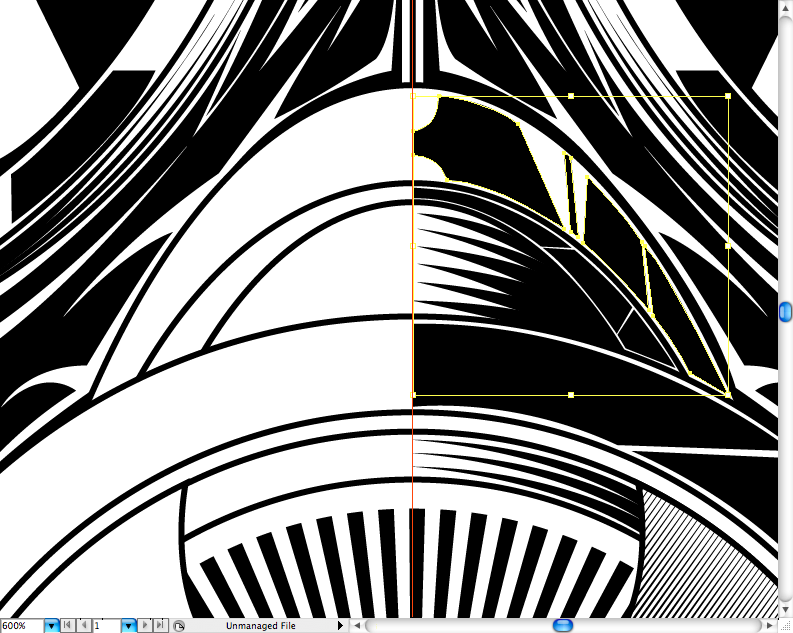
Step 2
So, using
the pen tool (P), you can make the indie part with black fill, but let a border space to create a white stroke on it. You can add some details like the hachure on the top and other extremities.
On the lower part of the mask just did the same thing.
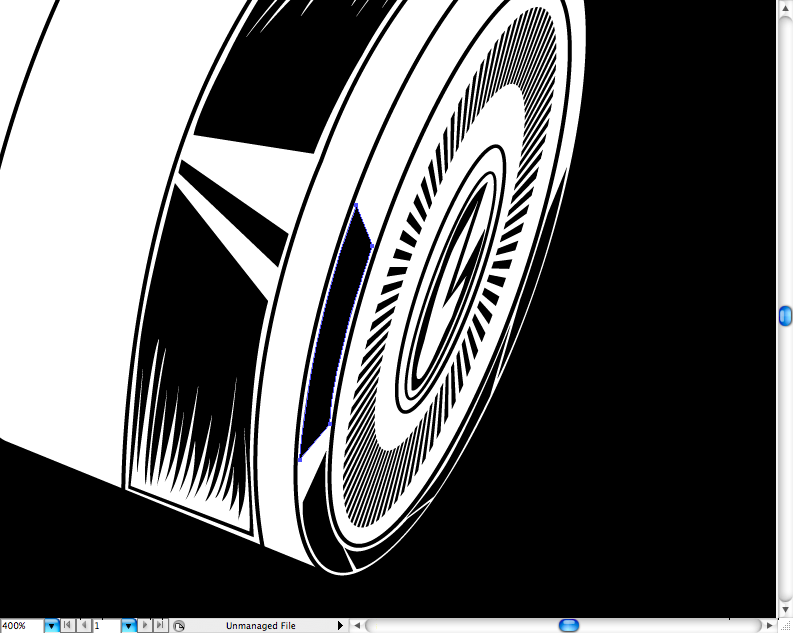
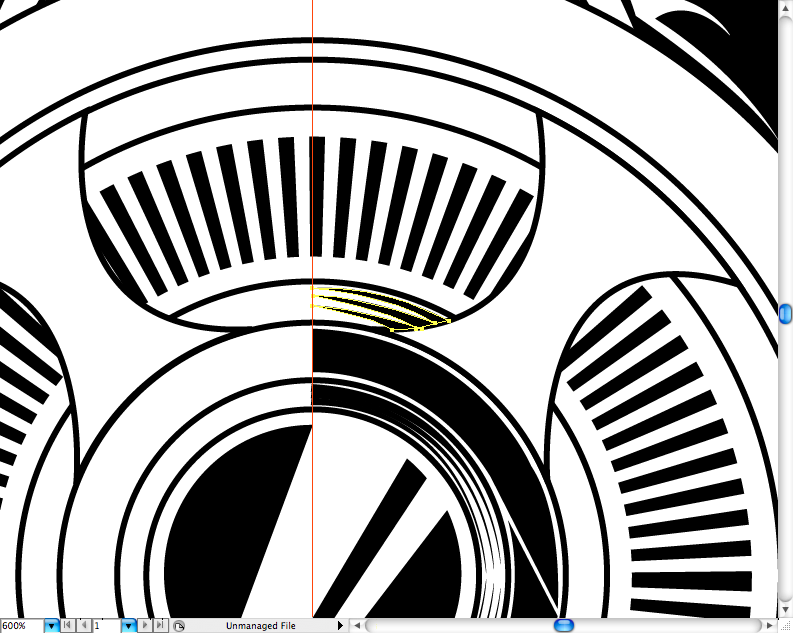
You've got to get something like this, then we can start adding some minor details. Now you can show the central filter layer, to make some shading around it.
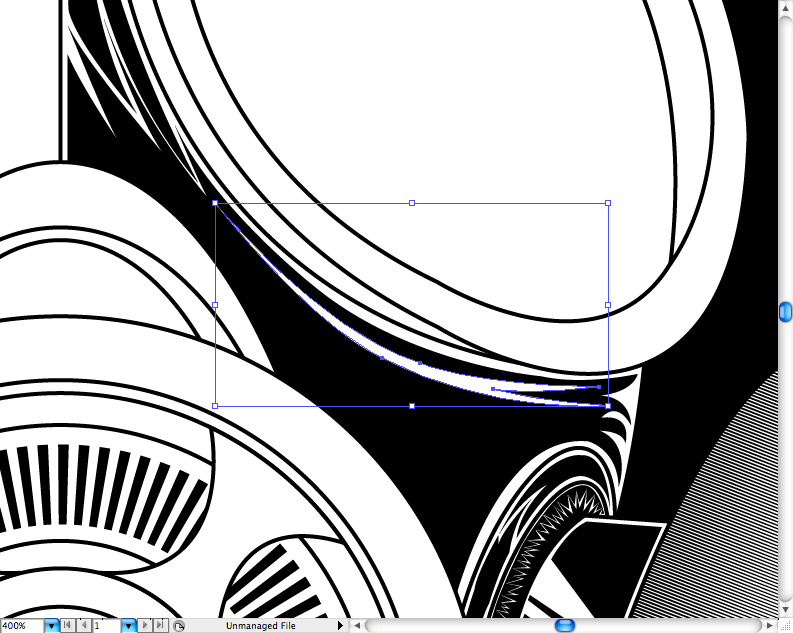
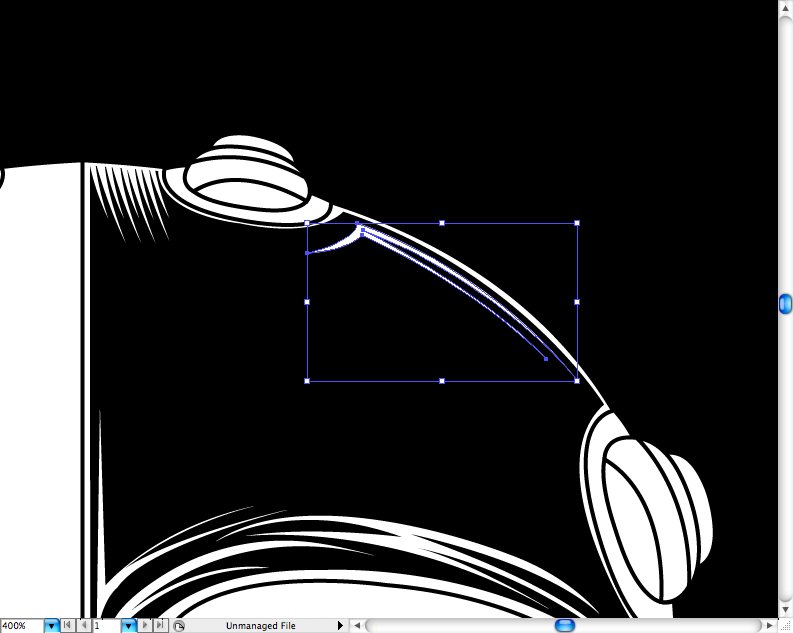
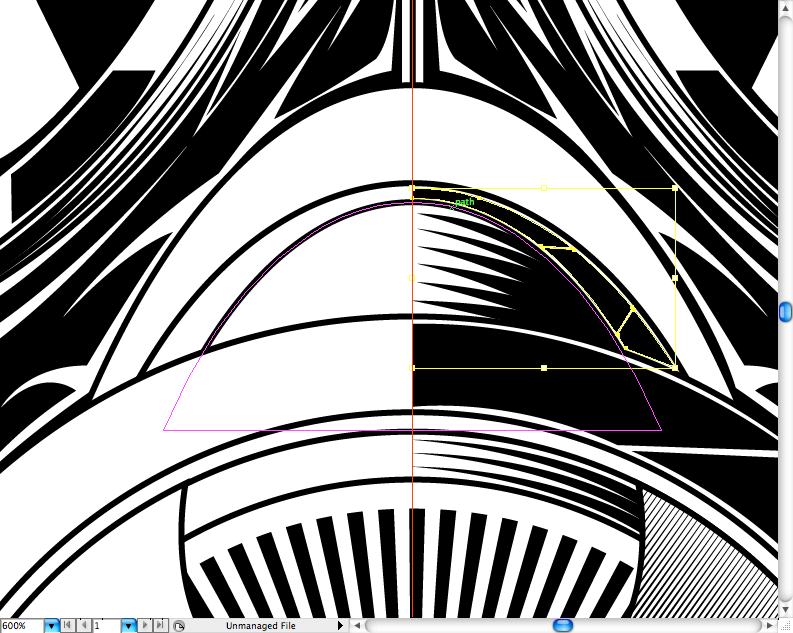
Using
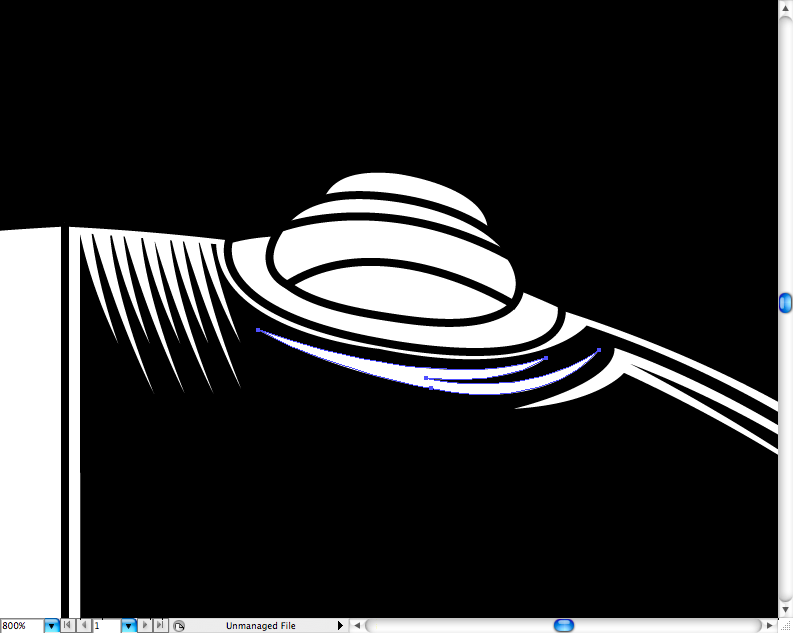
the pen tool (P) you can add some hachure shapes, like this one below the glasses.
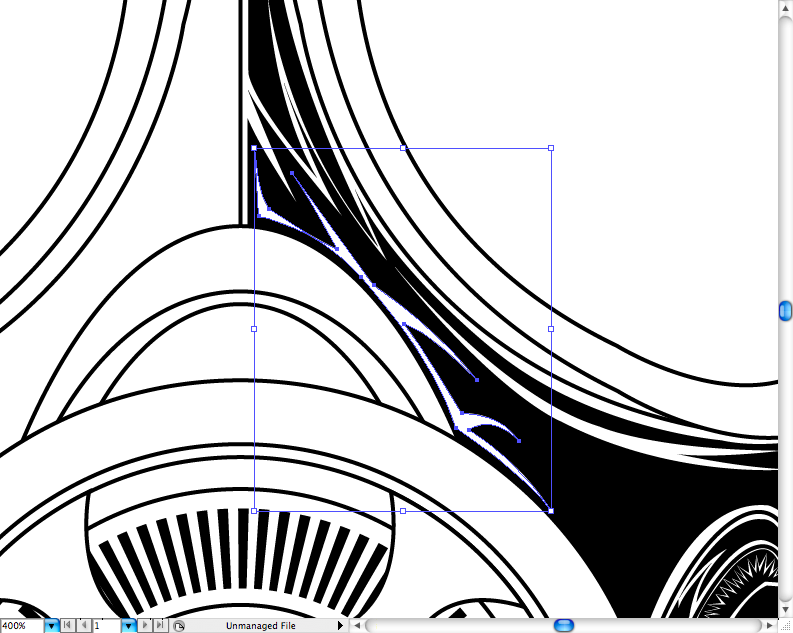
Also one next to the nose part.
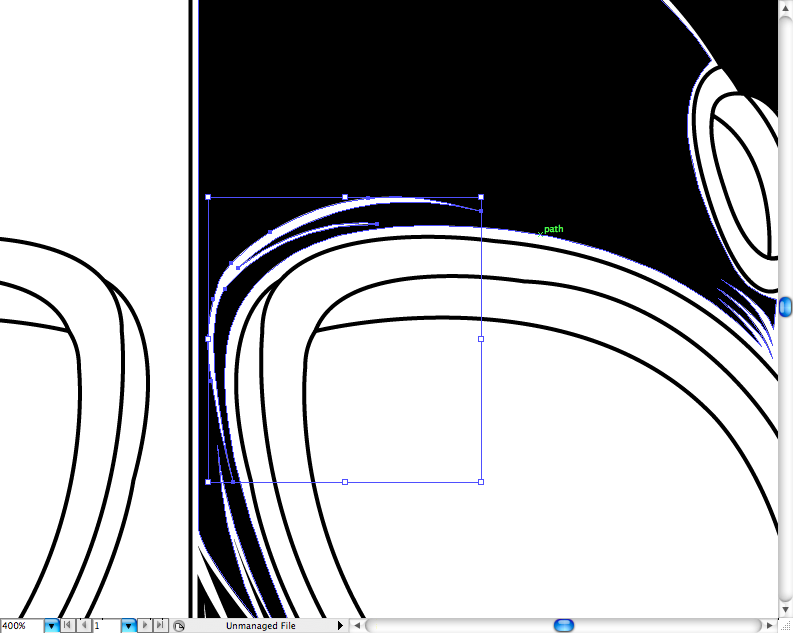
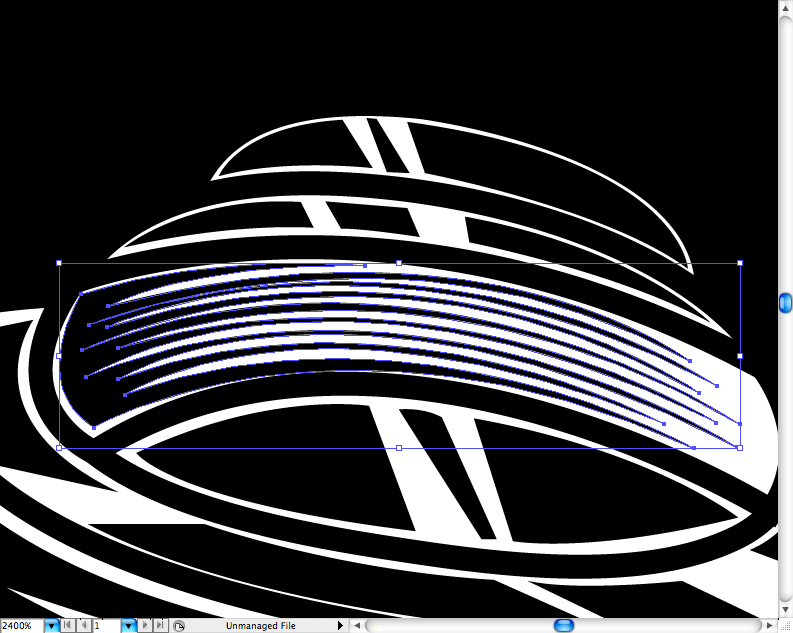
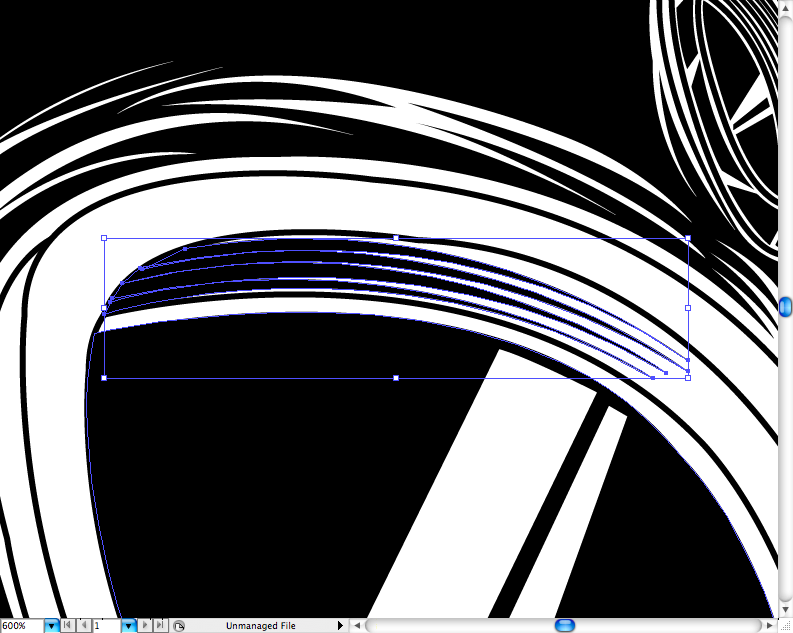
On the top of the glasses.
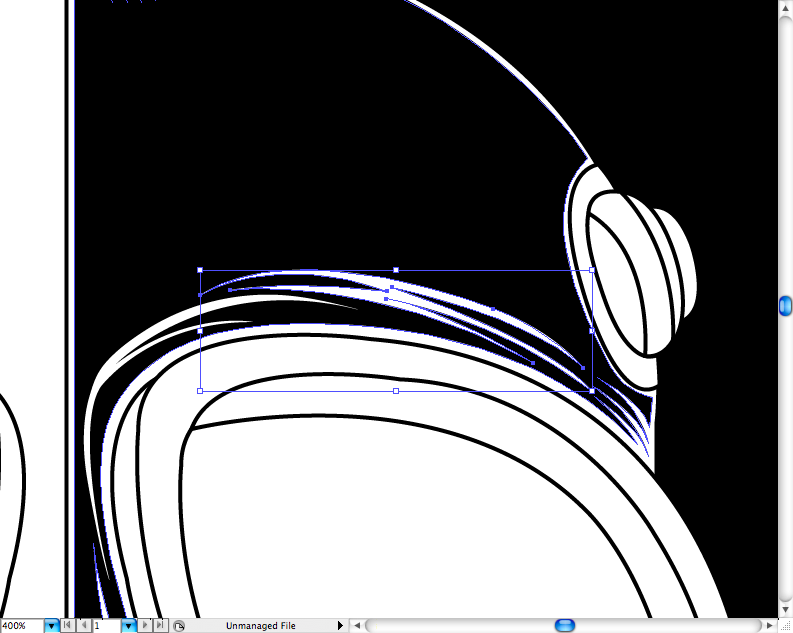
And a lonely hachure here.
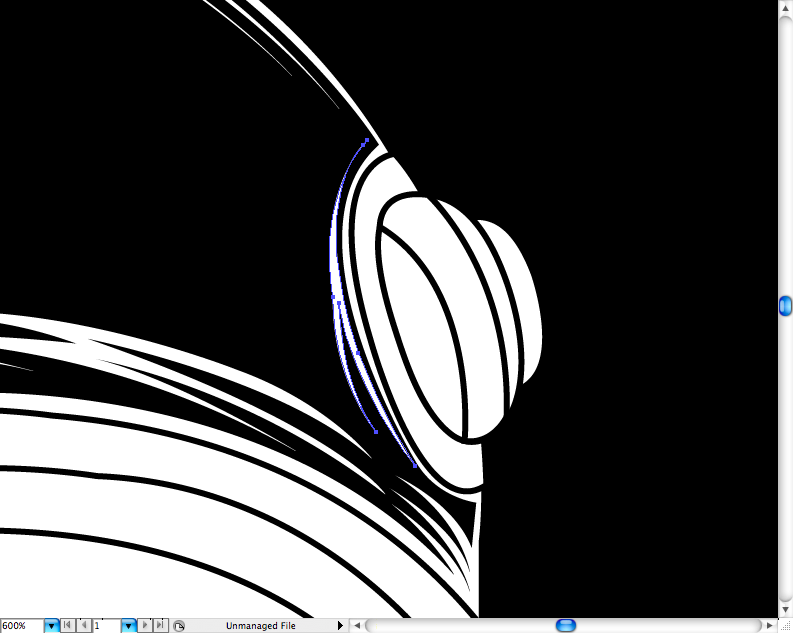
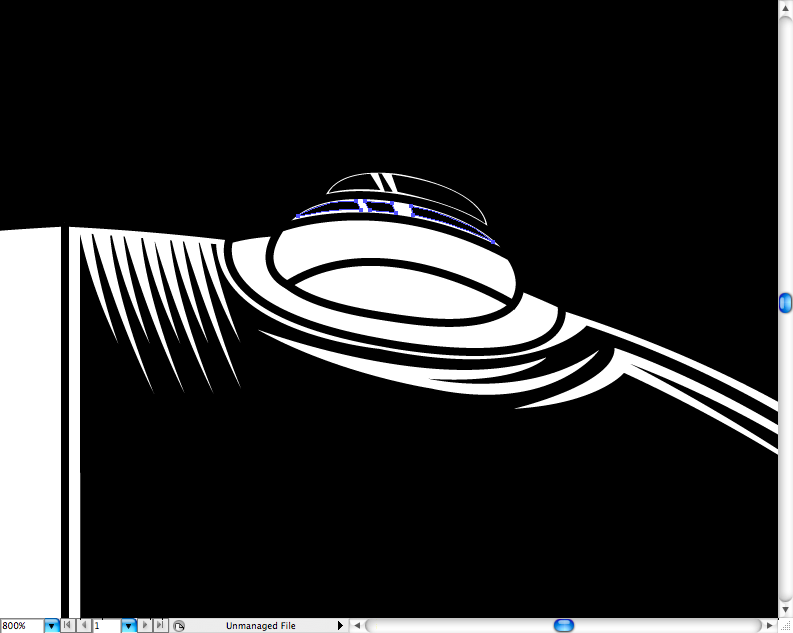
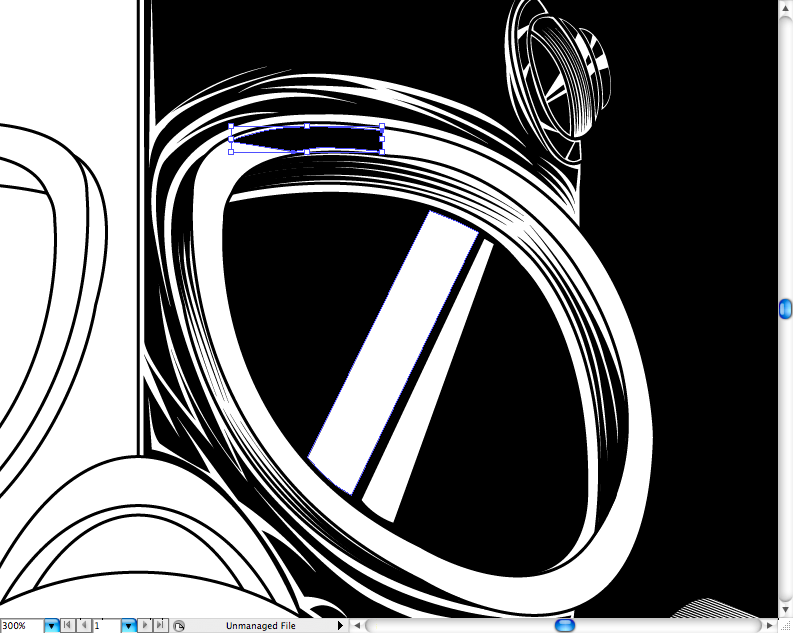
Let's apply some hachures on the elastic grabbers next.
Step 3
These are really tiny details, so don't worry If they get a bit strange, nobody will notice from a far distance. Start by adding this hachure on the side of the grabber using
the pen tool (P).
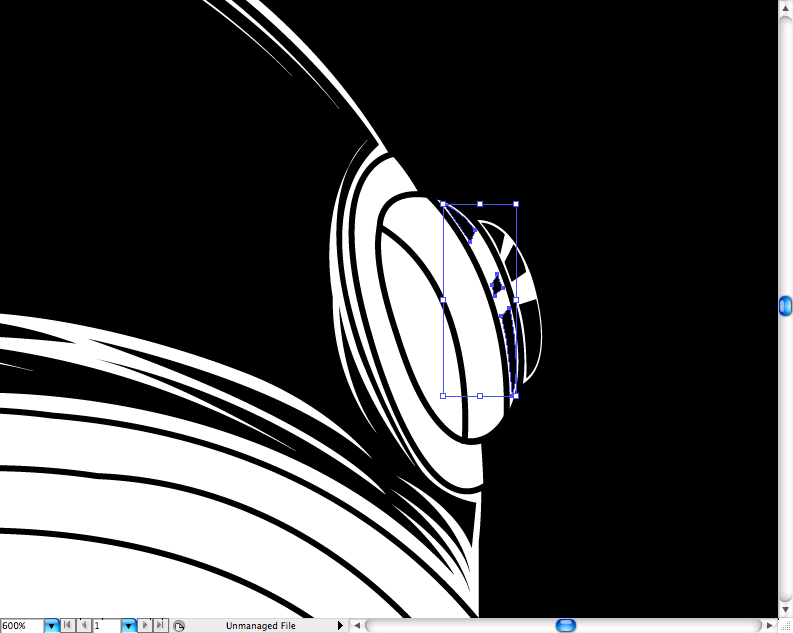
Add some black space shapes on this part.
Do the same here.
And here.
Do the "cracky filling" again on this part.
No shortcuts here, it's a boring hacure, I know, but do it easy with
the pen tool (P).
Following the same idea of the other grabber, add a hachure here.
Some black spaced shapes here.
The same here.
And here.
"Cracky filling" on this part.
And the "boring hachure" on the center.
That's it, time to start the glasses.
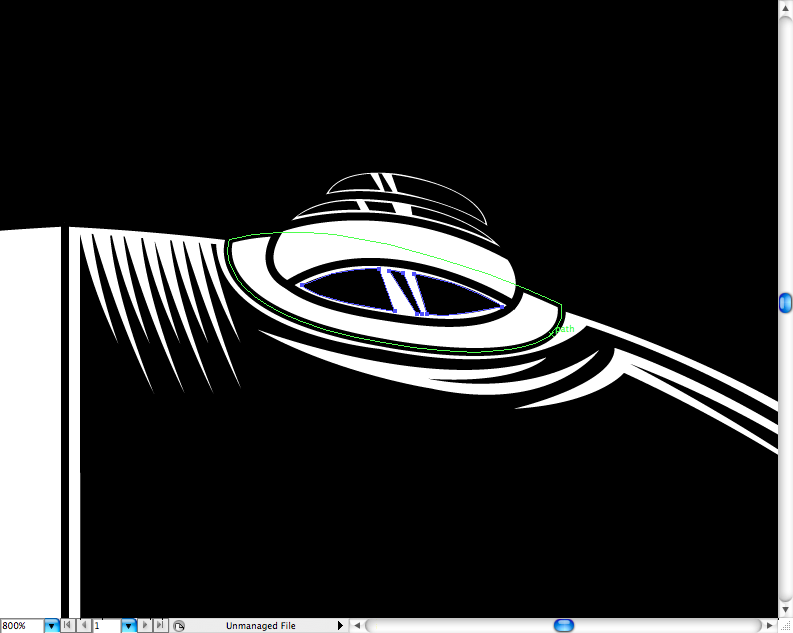
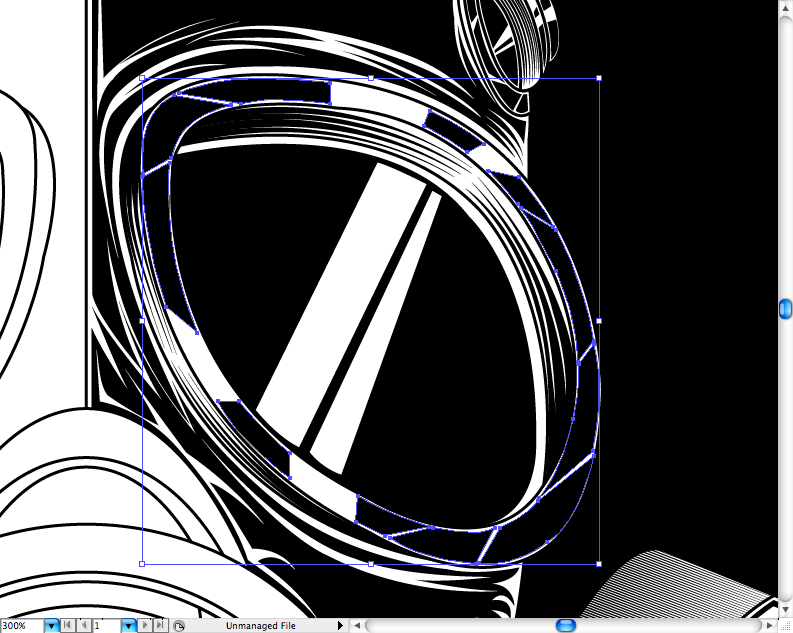
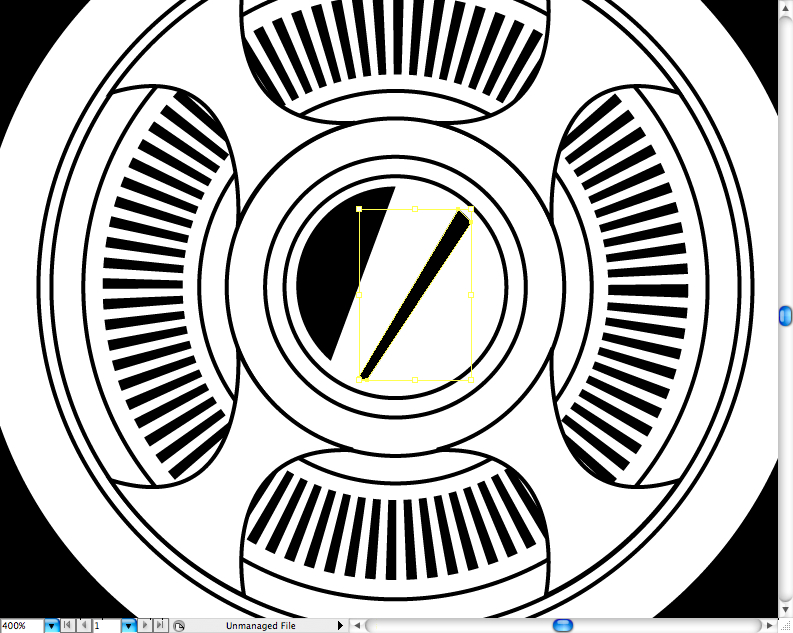
Step 4
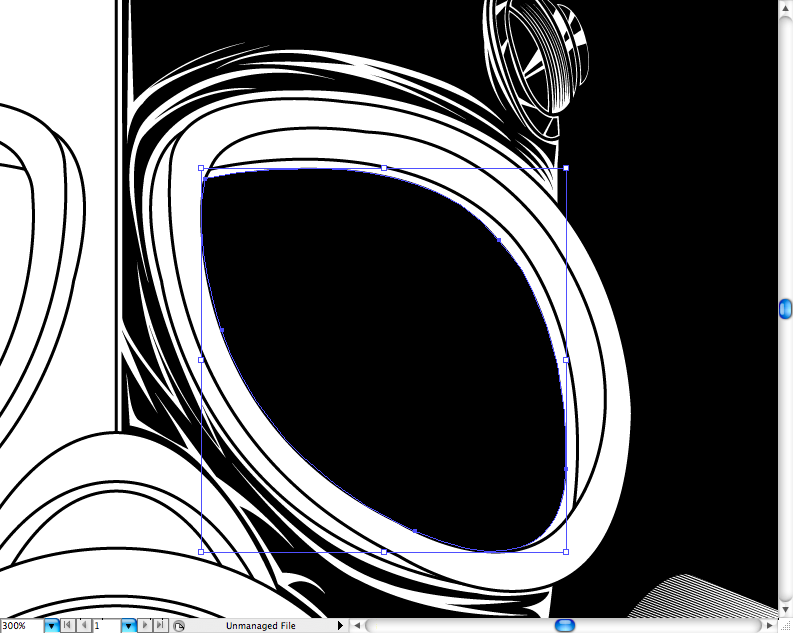
First make a big black fill inside the glasses cavity using
the pen tool (P), but let a thin white space on the left/upper side.
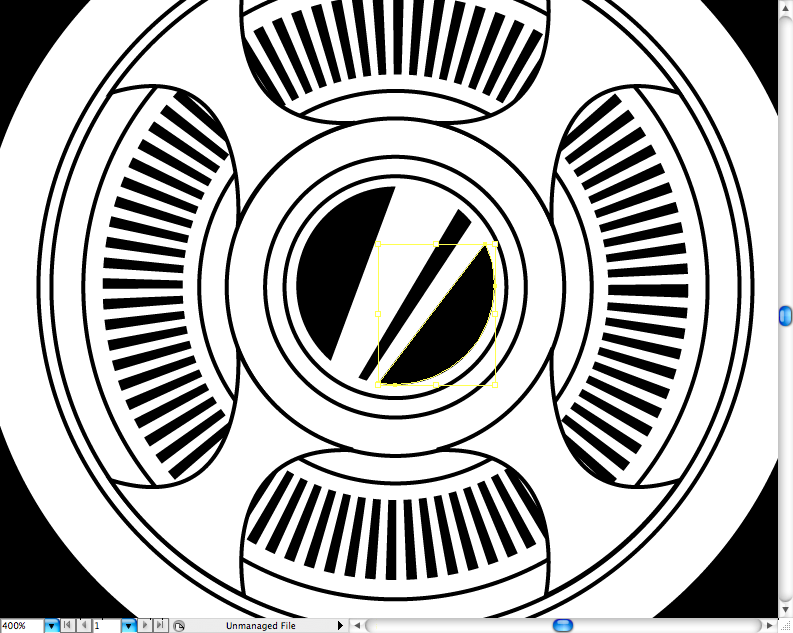
Let's add some classic rectangular reflections on the center of it, use
the pen tool (P) for it.
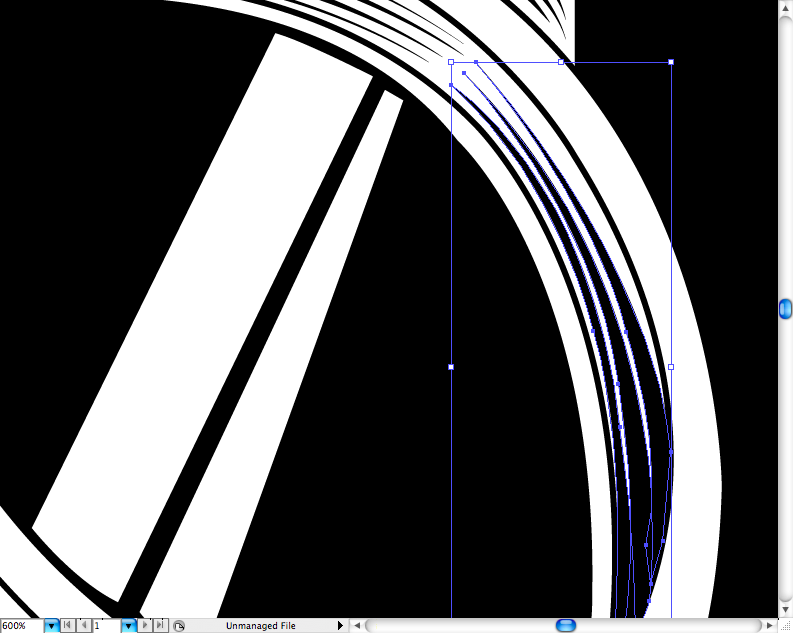
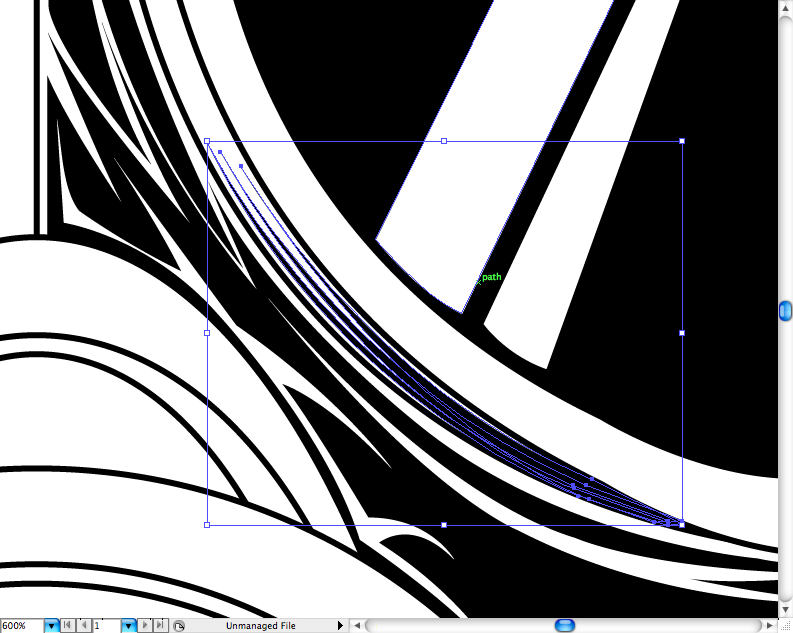
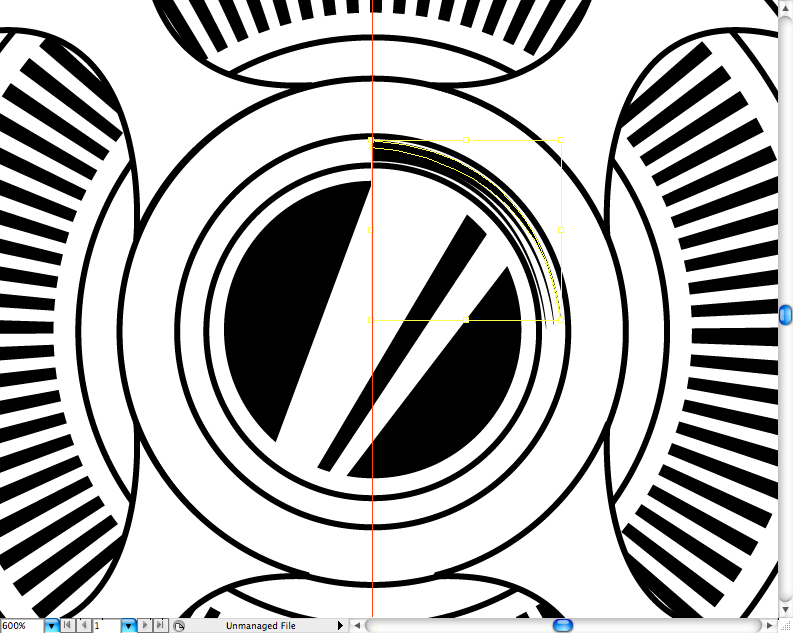
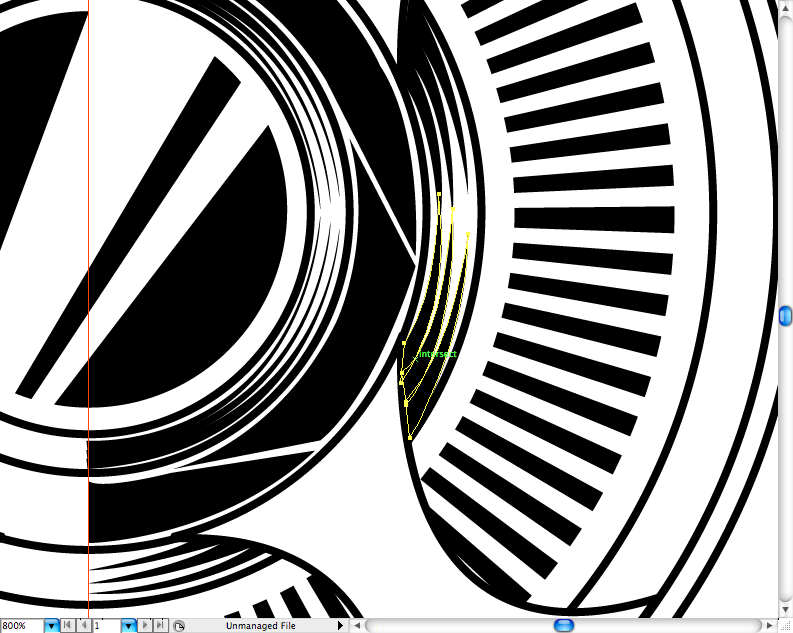
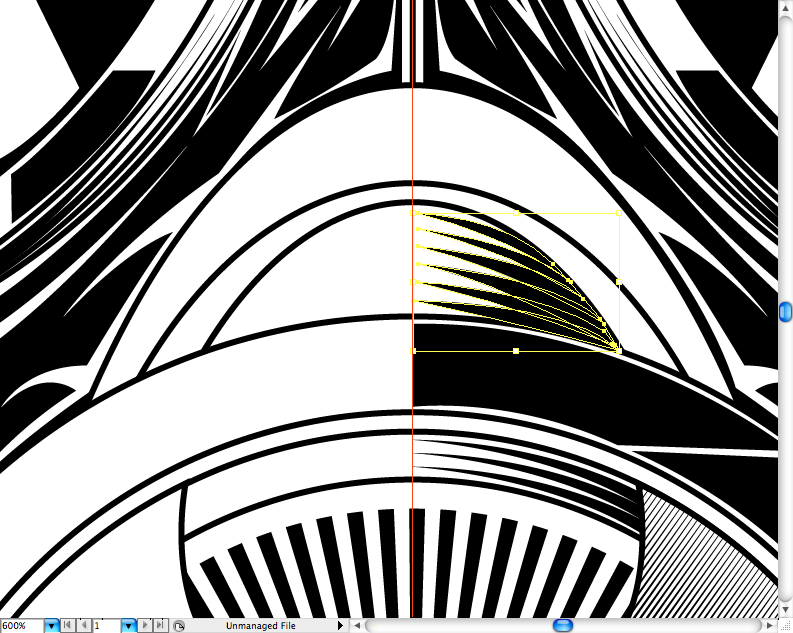
Yep, you're going to have to do one by one of this sharp shapes to make this curve hachure, don't forget to use the "alt+click" trick on the vector points to mute the curves.
After you do the first one, you can just copy and adjust it on the other places using
the direct selection tool (A).
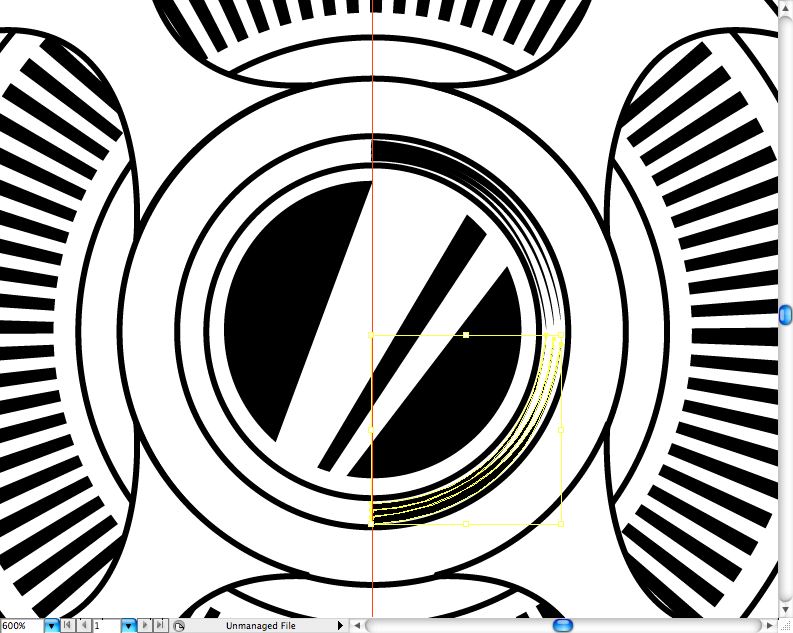
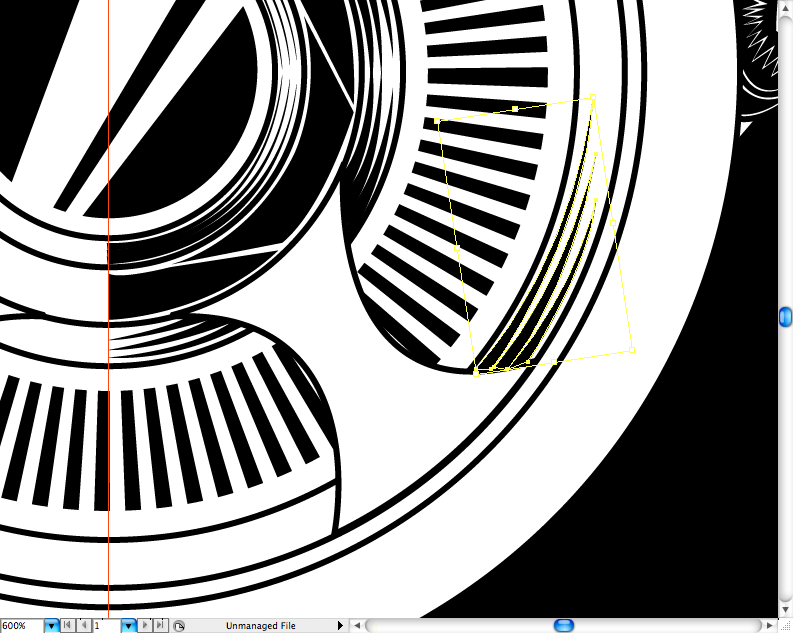
Repeat this procedures here...
...and here.
Use some "Cracky filling" around the glasses border.
Group all these elements, duplicate, reflect and place it on the other side.
That's it, time for the final step.
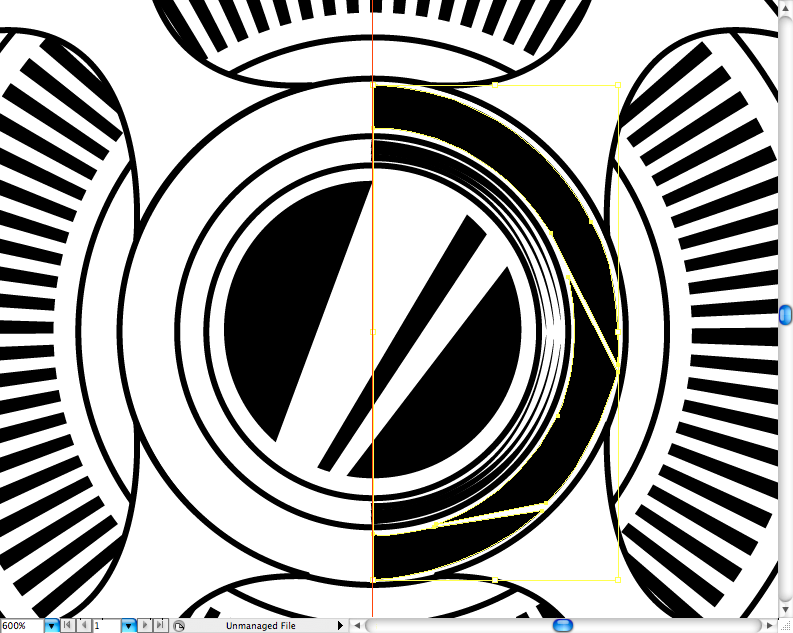
Final Step
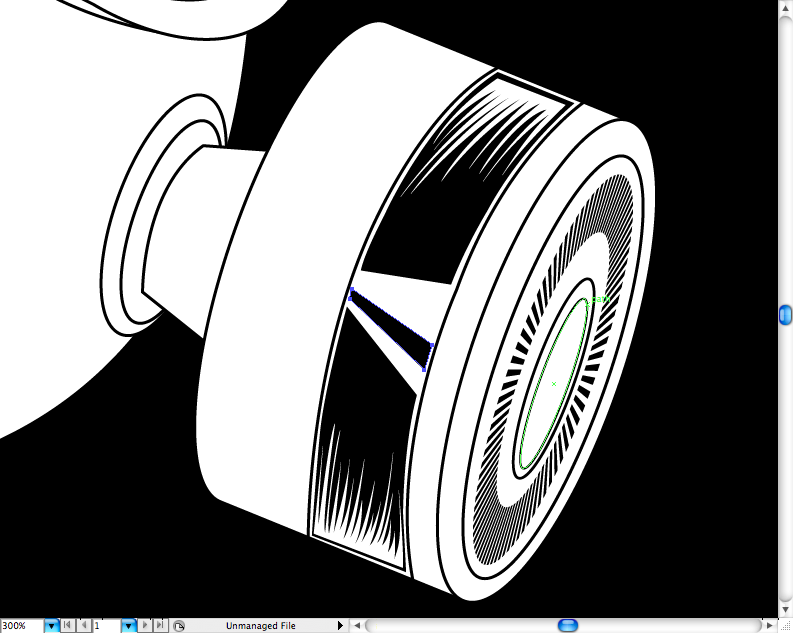
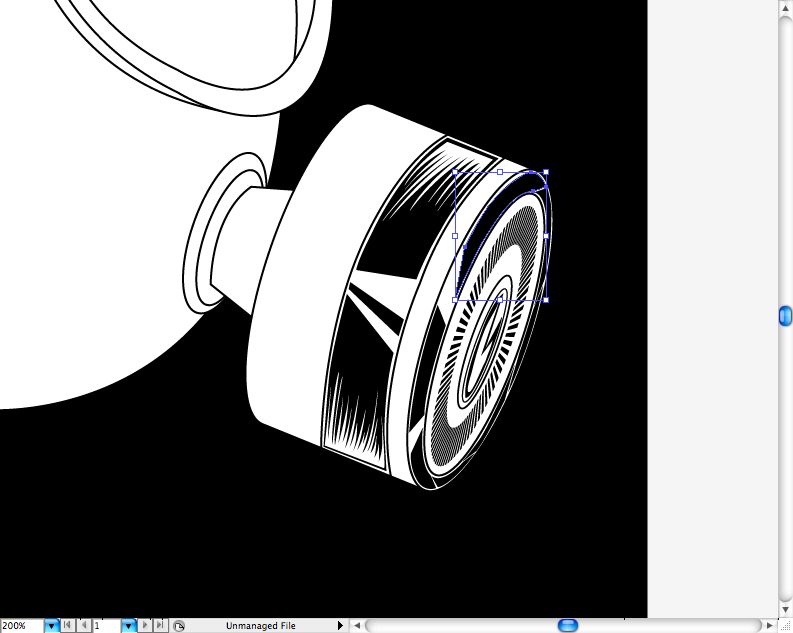
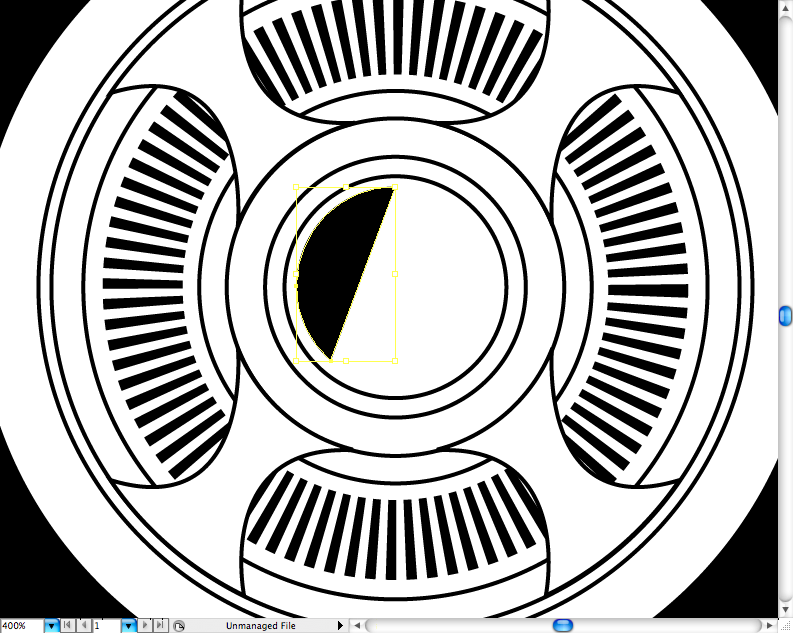
Before anything, make a new layer above the central filter layer and call it "shading". Using
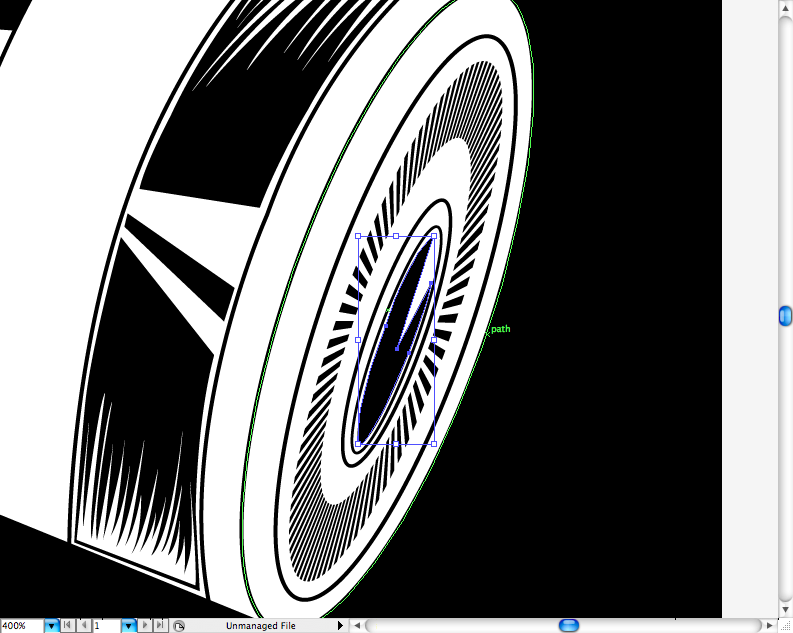
the pen tool (P) , let's start by making these reflections on the center of the filter.
The ruler on the center will be pretty handy right now. Unfortunately, you're going to have to make shape by shape here, but don't worry, you're basically going to duplicate and reflect it on the following steps.
Reflect horizontally here.
Use a "cracky filling" on this part.
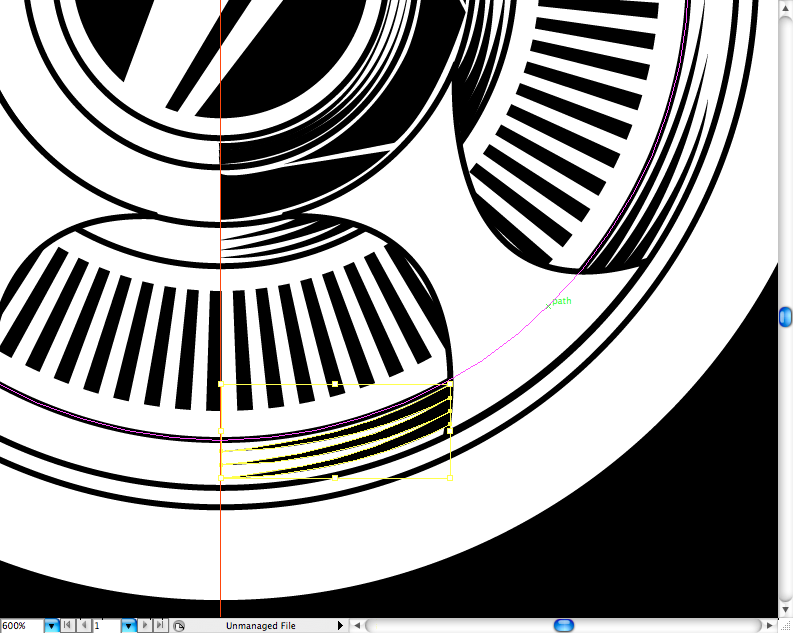
You can copy the previous hachures and adjust to insert on this part (or just make some new ones, which I found way better and faster).
Duplicate, reflect horizontally and place it.
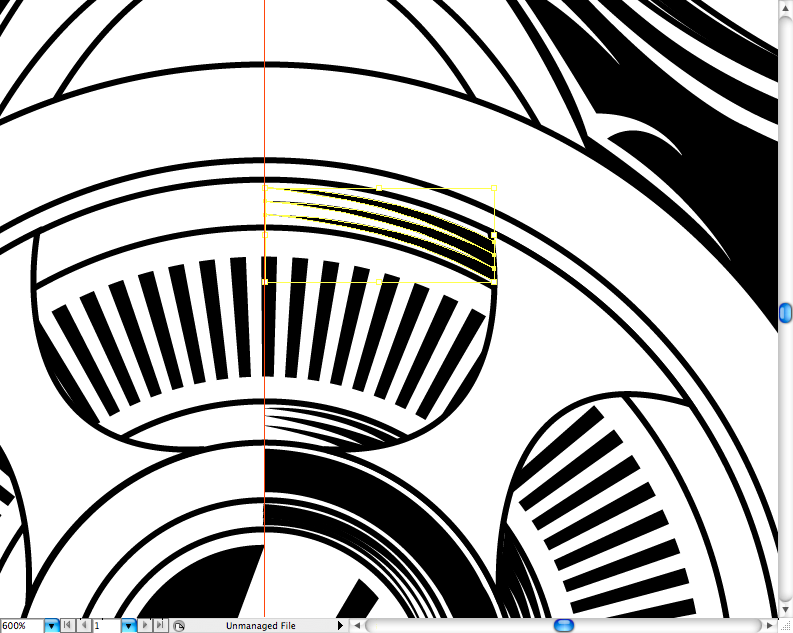
Do the same here.
And here.
More hachures guys! hehehe just follow the same procedures and everything is going to work fine.
Duplicate, reflect horizontally and place it.
Just duplicate the first one and place it here.
Just duplicate the second and place it here.
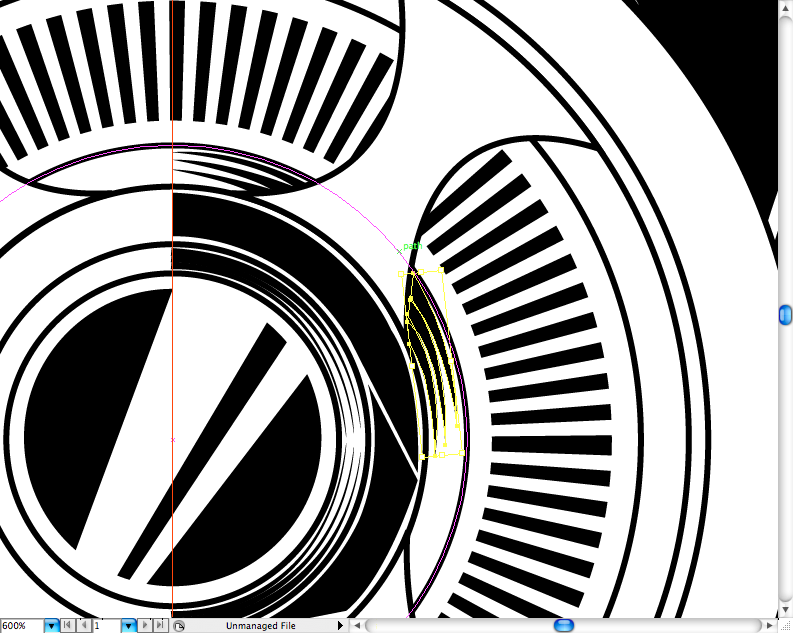
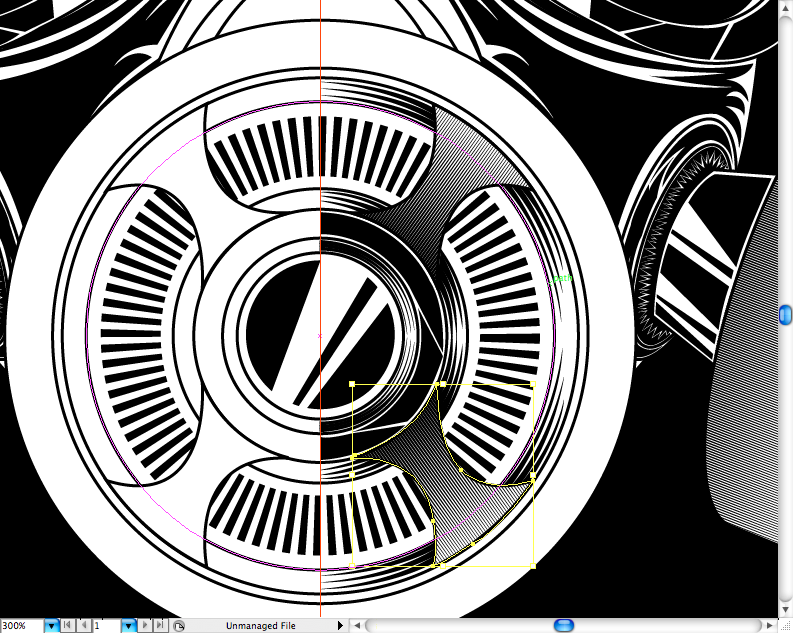
Lets use the triangles again on this part, make a group and place it above the fan part.
MUse
the pen tool (P) to trace the area you want to set it and make a
clipping mask (ctrl + 7 / command + 7).
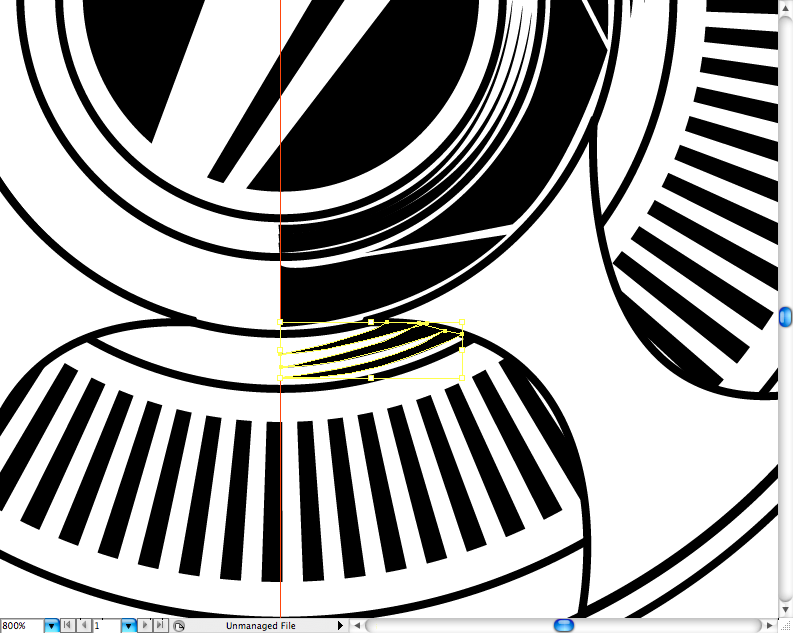
Duplicate, reflect and place it on the lower fan part.
More "cracky filling" on this border.
Make some hachures with
the pen tool (P) here.
More "cracky filling" on this part.
I must admit here I tried some really random shapes with
the pen tool (P), but as the aesthetic effect was sucessful, I decided to maintain them.
Ok, now just
group everything (ctrl + G / command + G), duplicate, reflect and place on the other side.
Conclusion
By this point, even If you did all these steps, you're probably wanting to kill me hehe just kidding guys. I know how hard it is to master some techniques, it takes time and a lot of observation to understand some aspects. Even If you have not followed the whole tutorial and just read it, you probably have learned a bit. You can download the file with the illustration at the end of the post, use it to study or for whatever you guys want, it's a little gift to you, have fun.
Download the Illustrator File


0 comments:
Posting Komentar